Using the experimenter interface
Logging in
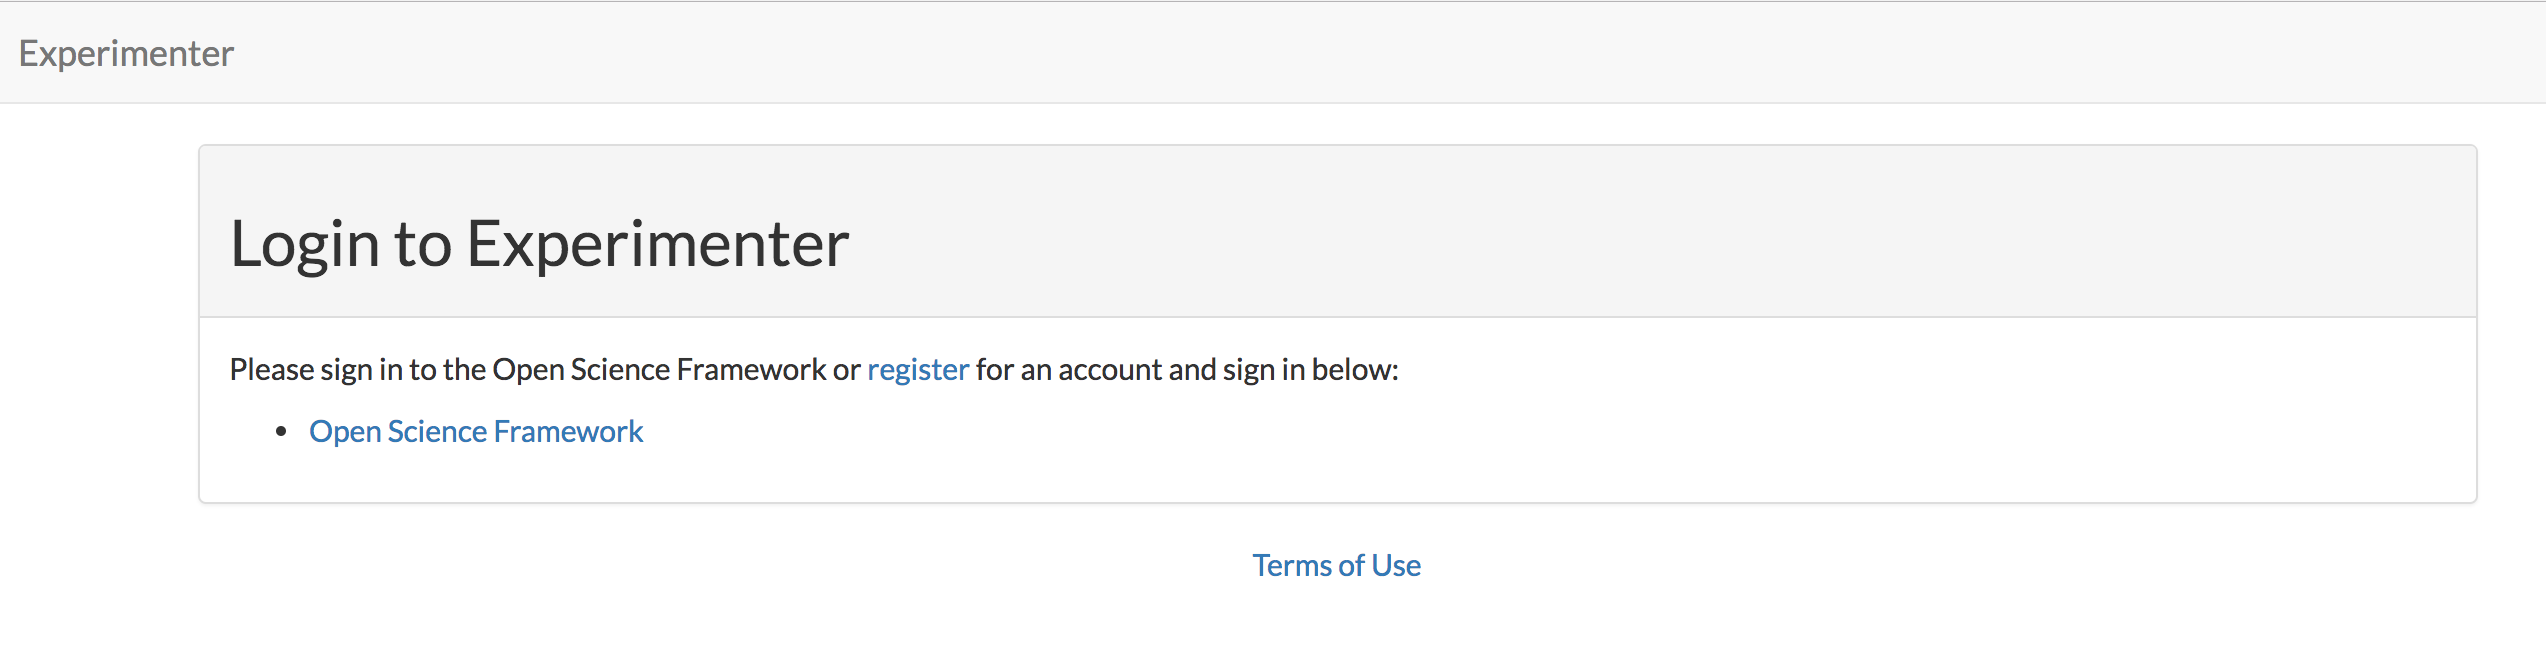
Researchers should log into Experimenter via oauth through the Open Science Framework. Visit https://lookit.mit.edu/exp/ to log in to the production server, or https://staging-lookit.cos.io/exp/ to log in to the staging server, and click on ‘Open Science Framework’. (Note: if running Lookit locally, you will instead need to authenticate as described in Setup for custom frame development.)
We use regular OSF accounts (you already have one if you have used OSF) for the production server, and staging OSF accounts (you probably don’t have one yet) for the staging server. A staging OSF account is just an account on OSF’s own staging server, where they try out changes ahead of deploying to production.
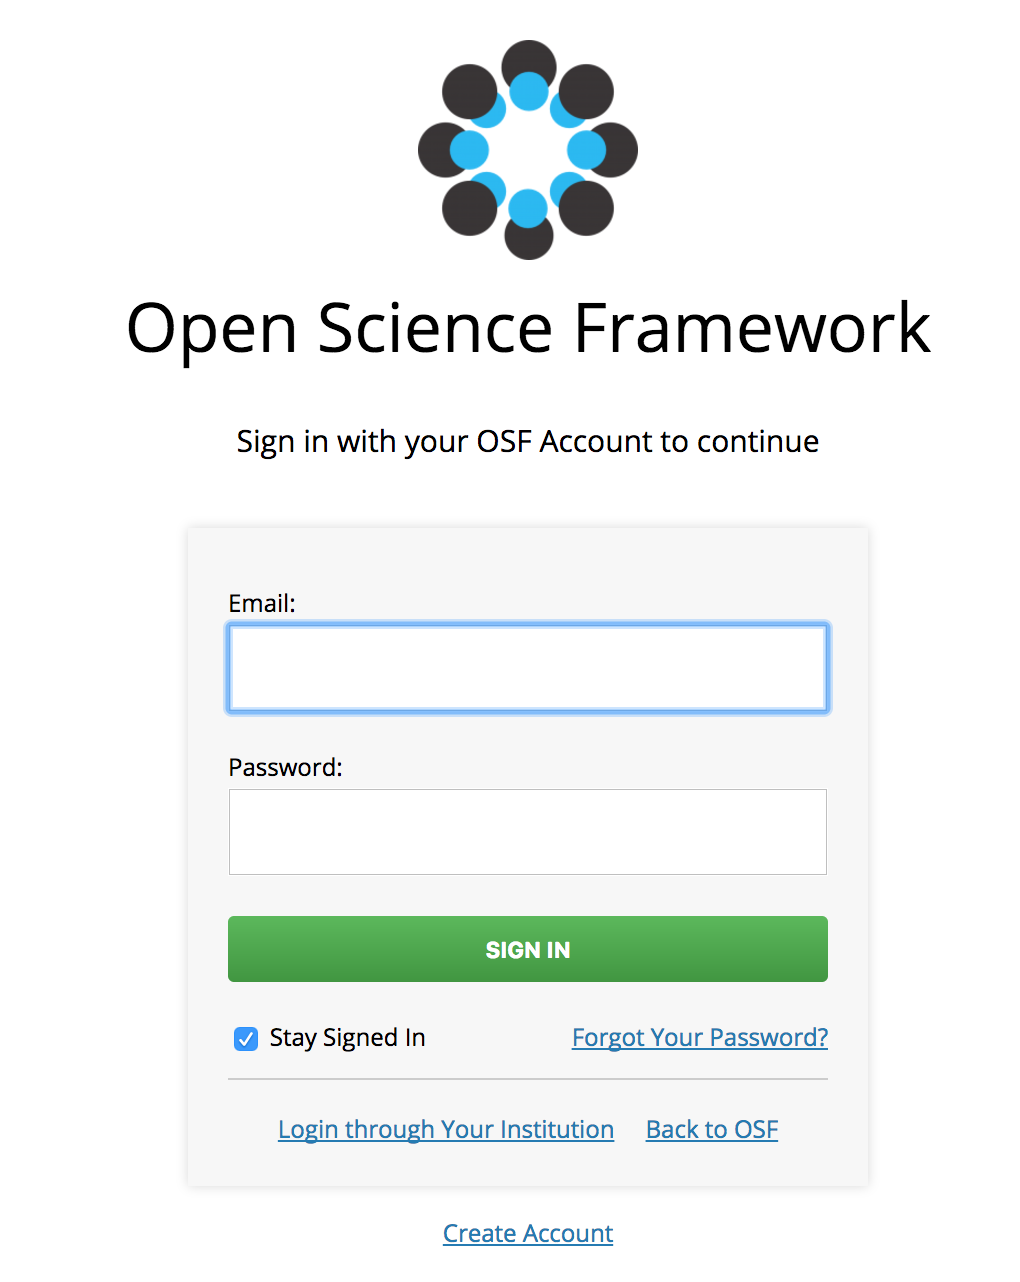
If you don’t have the appropriate type of OSF account yet, you can register to create one (use the ‘Create Account’ link on the screen shown below). Once you have an account, return to the Lookit experimenter login screen at https://lookit.mit.edu/exp/ or https://staging-lookit.cos.io/exp/, click ‘Open Science Framework’ again, and enter your credentials.
If you have not previously logged in to Lookit (or Lookit staging), you should now see a message that ‘Your request to join Experimenter has been submitted. You will receive a notification by email when this is completed.’ Please tell us once you have requested access so we can approve you promptly! New researchers require approval to access Lookit, which is easy (one of us clicking a button) but not automatic.

Otherwise, you will be now be logged into Experimenter.
Researcher accounts can also have children and demographic data, just like participants. If you would like to have a separate participant account on Lookit for testing and/or actual participation, use a different email address and sign up for an account using the ‘Sign up’ link on the home page.
Managing Studies
Viewing study list
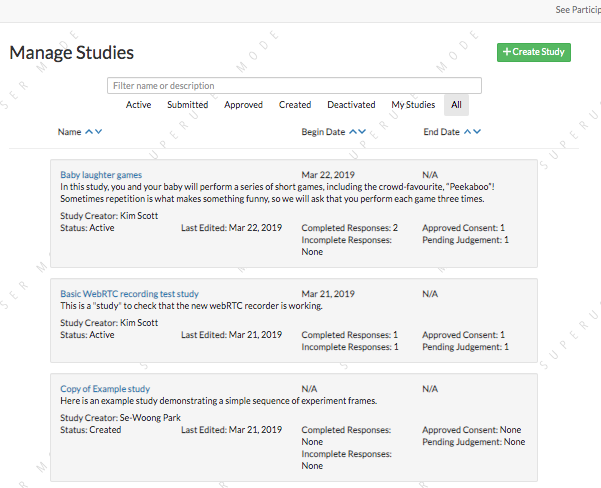
To view all studies, navigate to /exp/studies/. (We will use this short format to indicate relative paths starting with the Lookit site you are using - e.g., https://lookit.mit.edu/exp/studies/ or https://staging-lookit.cos.io/exp/studies/). A researcher must have been added to an organization to view this page. From there, the researcher can only see studies they have permission to view. Org admins and org reads can see all studies that belong to their organization. If the user is a basic researcher, they can only view studies which they have created or to which they have been explicitly added.
You can filter studies by name or by keywords in the description. Additionally, you can sort on various study states like “Created” or “Submitted”, or filter on your own studies by selecting “My Studies”. You can also sort on study name, study end date, and study begin date.
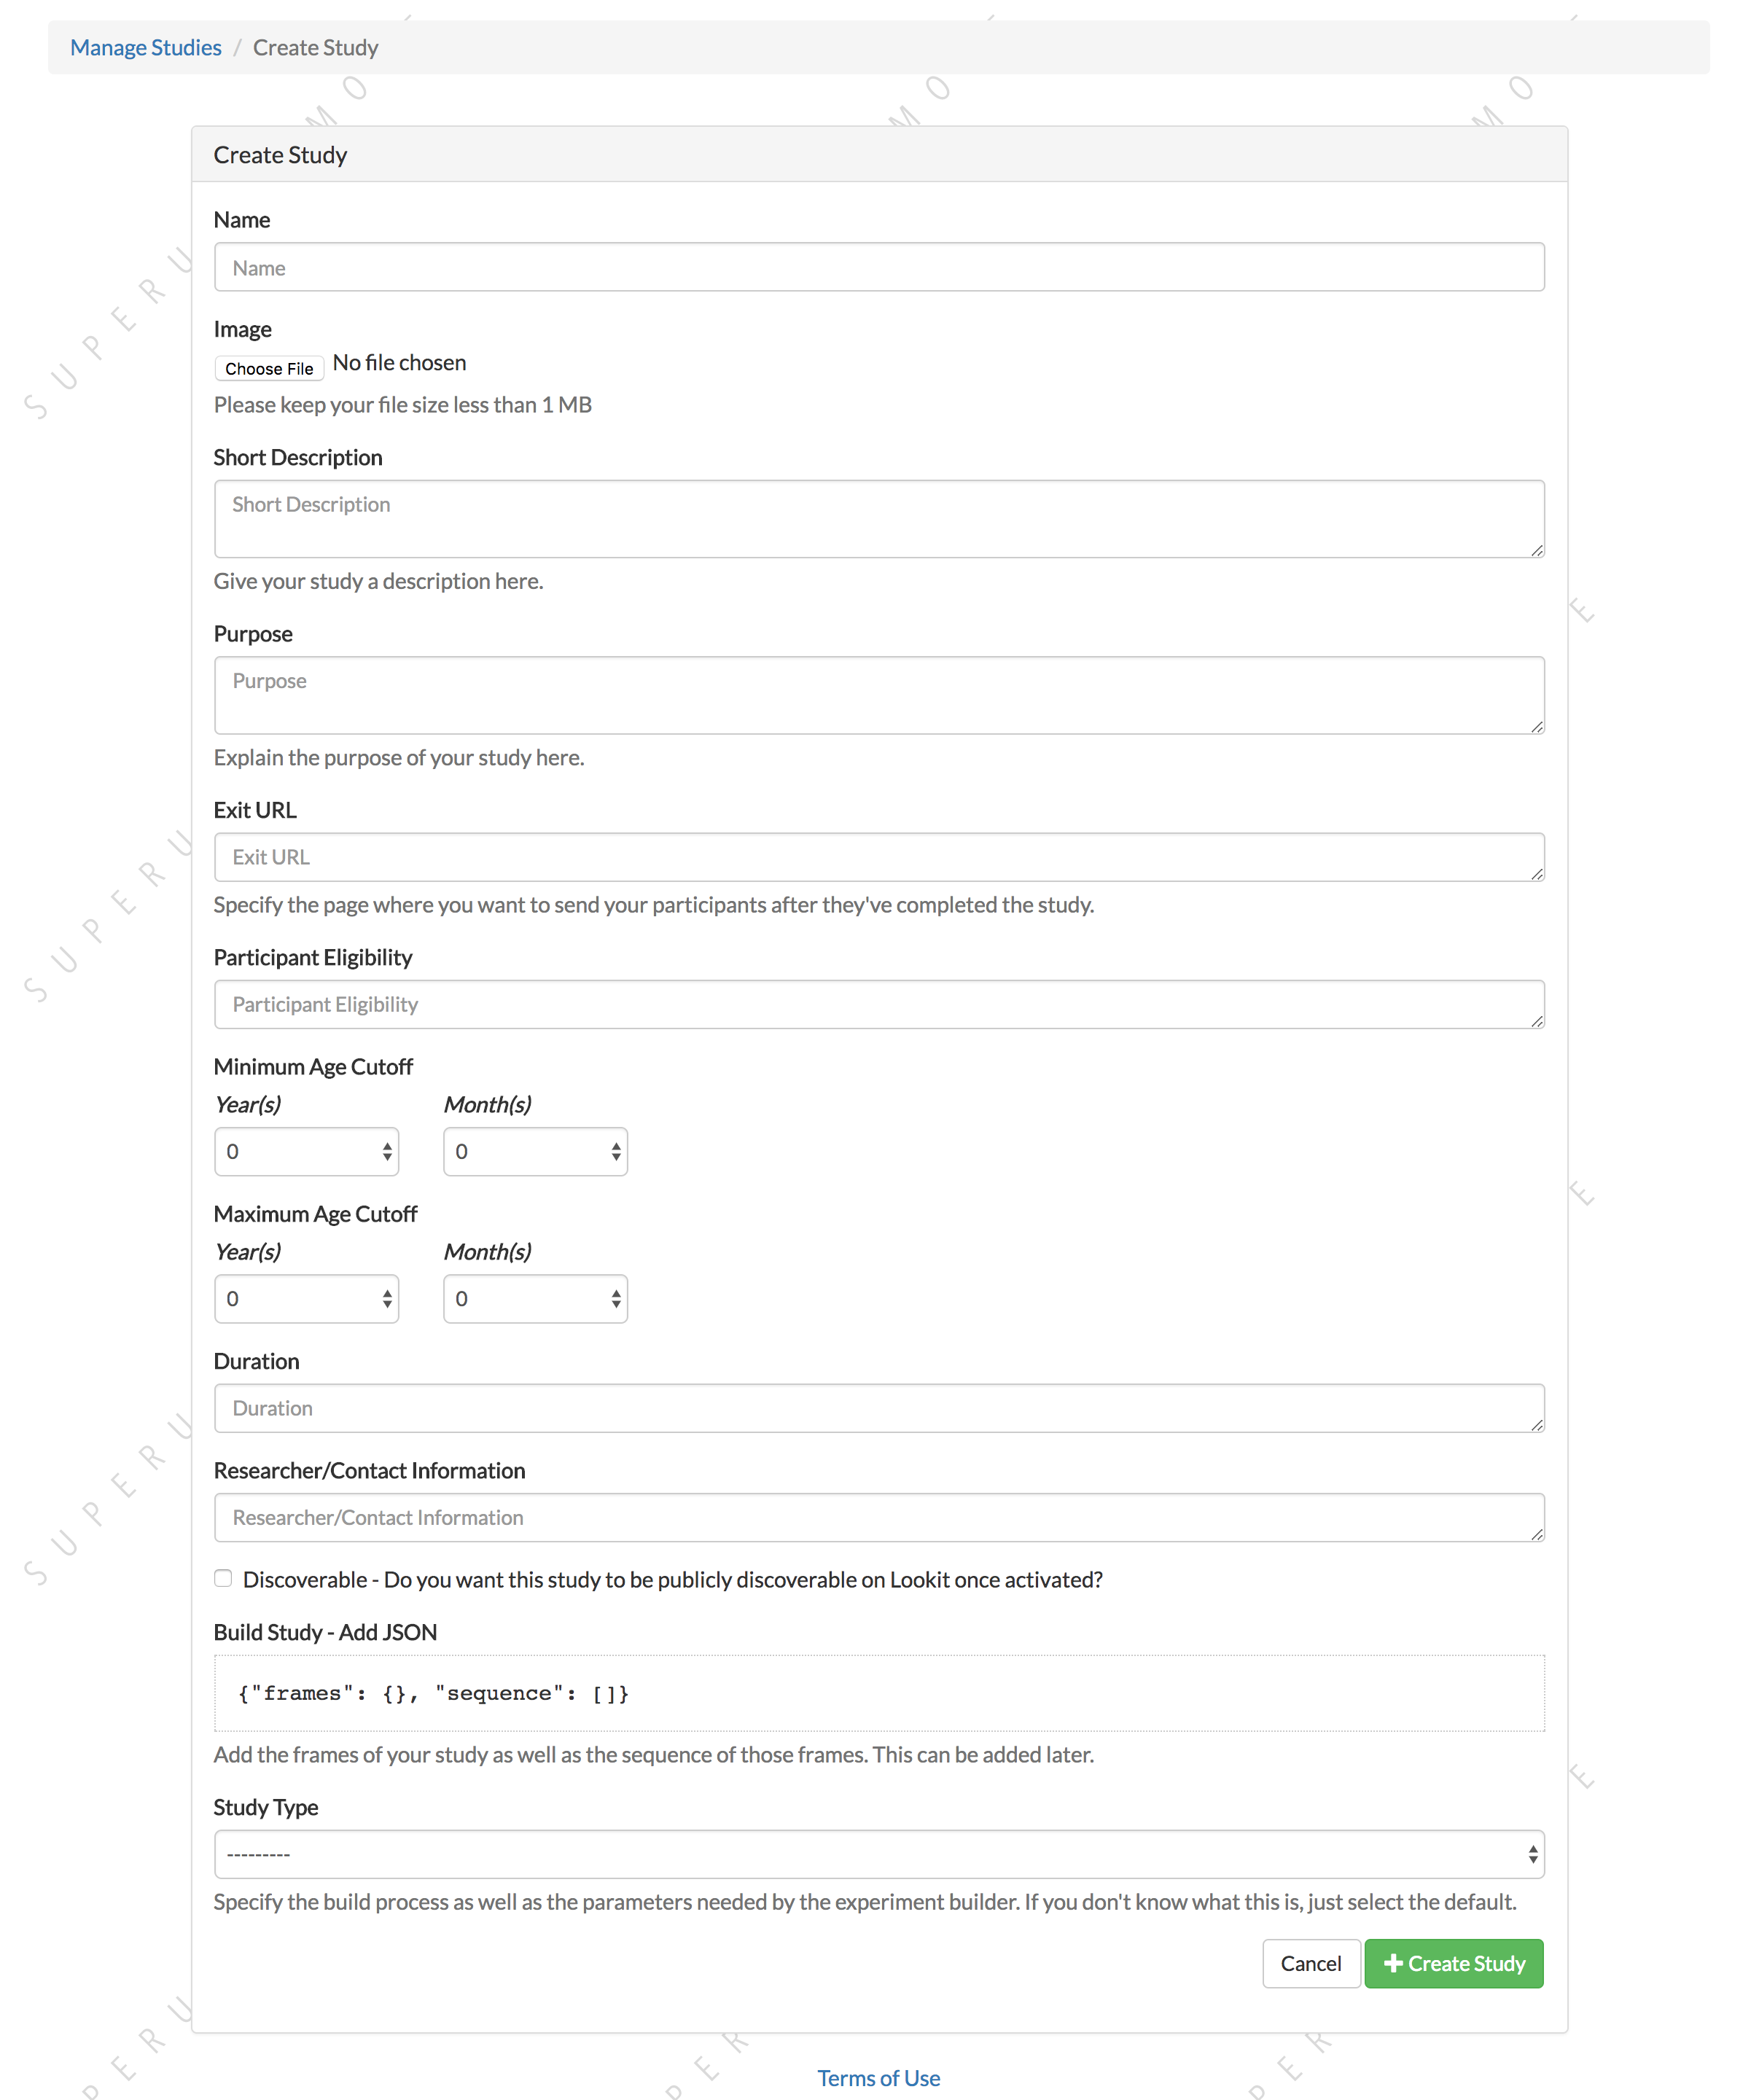
Creating a study
To create a study, navigate to /exp/studies/create/. You’ll need to provide values for the fields as described in Setting study fields.
Study detail page
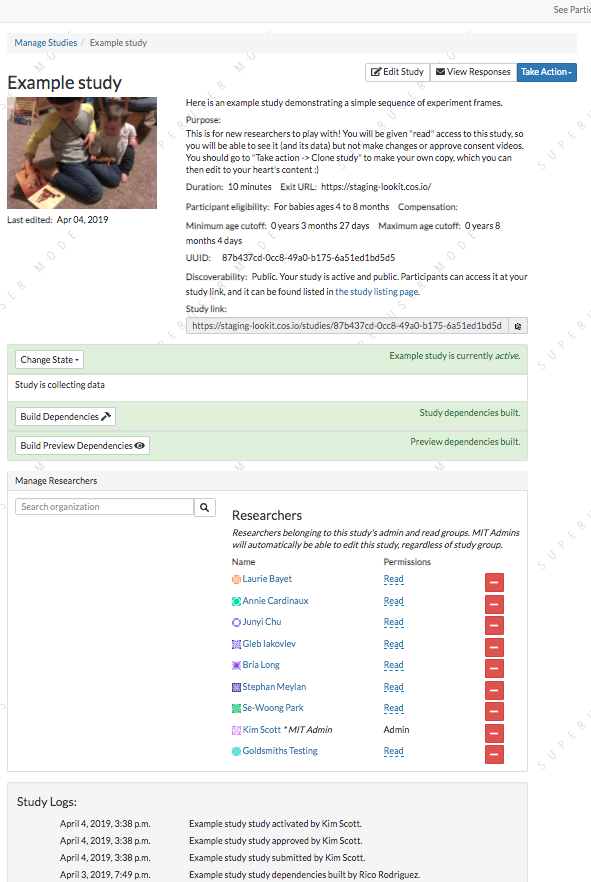
To view a single study, click on it from the study list. A researcher must have permission to view this study specifically. Org admins and org reads can view all studies in their organization. A basic researcher can only view this study if they have been explicitly added as a study admin or study read. At the top, you see many of the study details that you entered when you created the study. The UUID is also displayed; this is your study’s unique identifier and is used in the direct link to the study.
At the top right, you have options to edit the study, view responses, email participants, or clone the study. Cloning will create a copy of the study but add the logged in user as the creator. The clone will be moved back into “Created” status (e.g., if the current study is actively collecting data, the cloned study will not be - it will need to be approved before it can be started). Study logs of when the study changed state are at the bottom of the page.
The only things that can be edited from this page are the study status and researcher list. The current study status is displayed, as well as a dropdown with the available states. Only users that have permission to edit the study state can make these changes, meaning organization admins, or study admins. The available states where you can move the study depend on what state is next in the sequence, as well as your current level of permissions. For example, if a study’s current state is “Created”, that study can only be “Submitted” for review, or “Archived”, which removes the study from display. Comments can only be left on the study if it is being rejected. Only organization admins can approve or reject a study.
Study status
New studies must be submitted and approved by Lookit before they can be started. Once approved, researchers with study admin permissions can independently start/pause data collection at will; however, if any changes are made to the study it will be automatically rejected and will require re-approval. The study approval process is intended to give Lookit staff an opportunity to check that studies comply with the Terms of Use and to provide support if necessary. Researchers will receive email notifications when their study is approved or rejected.
The possible study states are:
- created: Study has been initially created, but has not been submitted for approval
- submitted: Study is submitted and awaiting approval by an organization admin
- approved: Study has been approved by an organization admin to run on Lookit, but is not yet active
- rejected: The study has been rejected by an organization admin. The study should be edited before resubmitting.
- active: Study is active and can be collecting data. If the study is also marked “Discoverable”, the study will show up on Lookit’s study list.
- paused: Study is not actively collecting data or visible on Lookit
- deactivated: Study is done collecting data
- archived: Study has been archived and removed from search
Adding researchers to your study
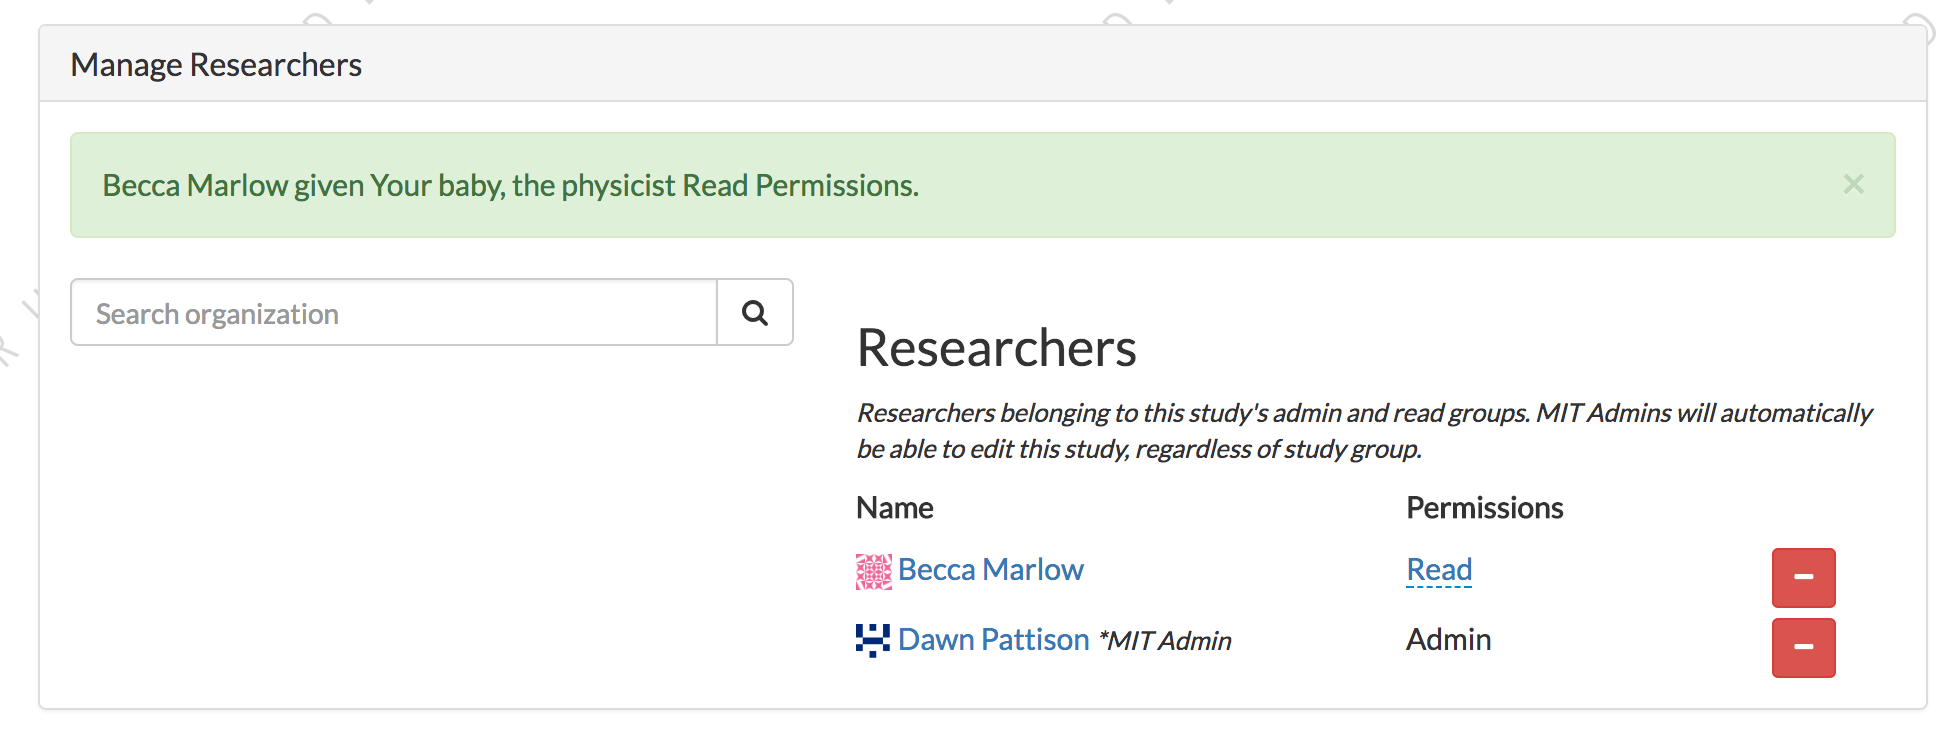
Halfway down the study detail page, you can see the researchers that have study admin or study read permissions to your study. In the search box, you can look for an existing Lookit researcher (this must be someone who has already been added to your organization).
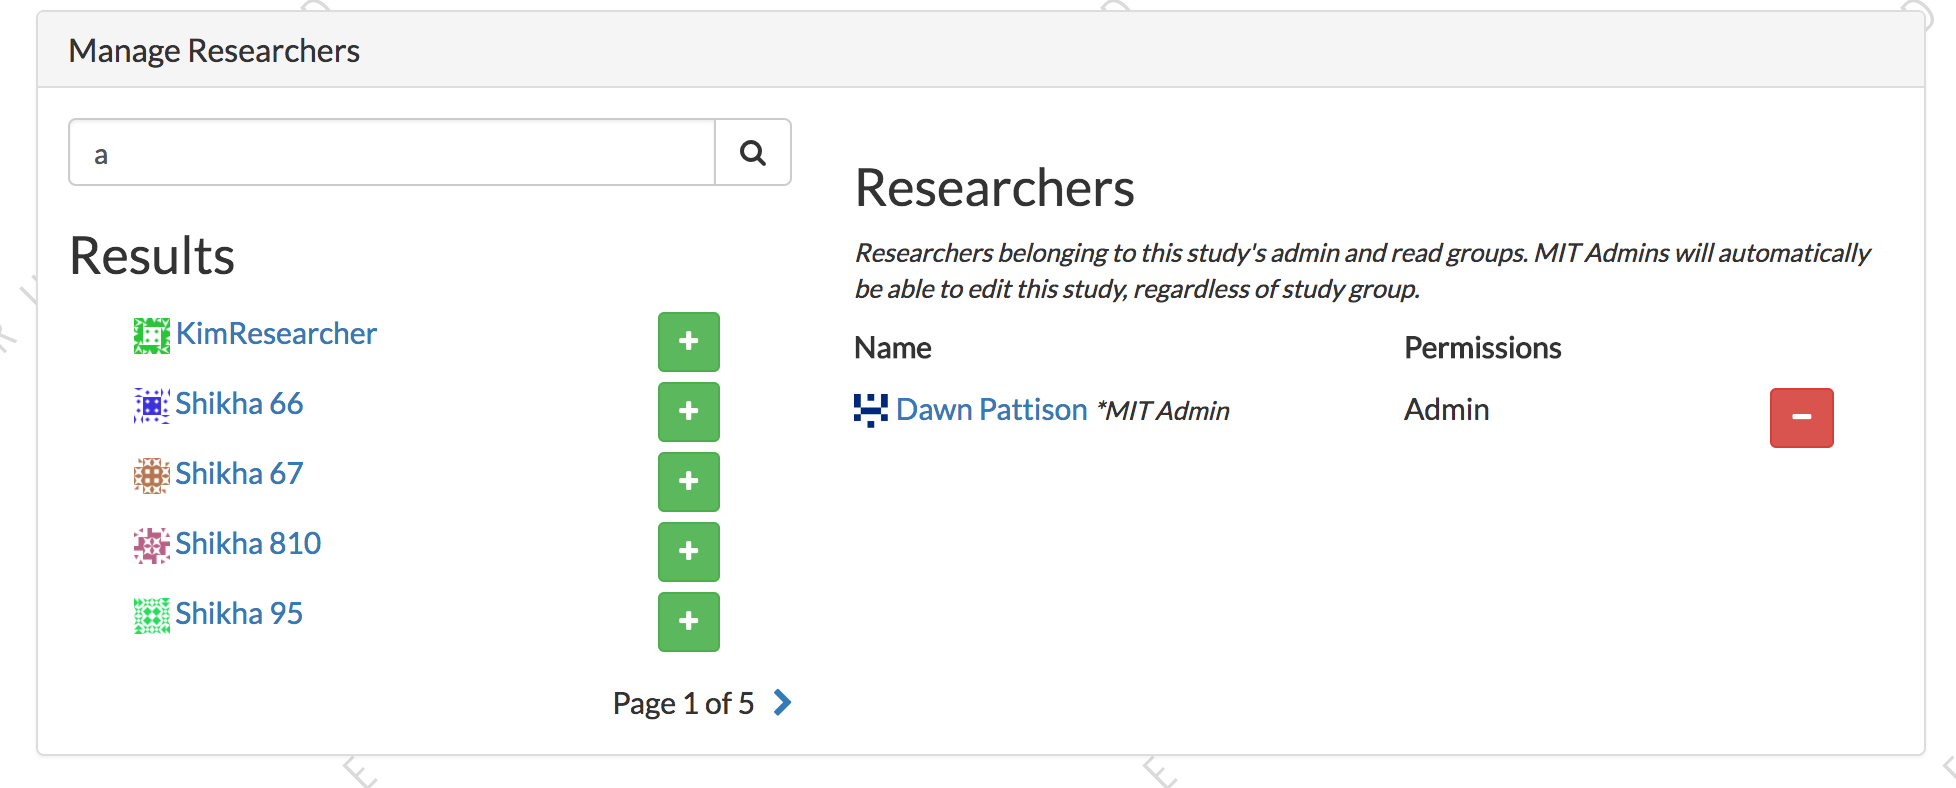
Click the green plus to add them to your study. They are given study read permissions by default; this allows them to see all study details and participant data and to approve consent videos, but not to change study details, change study status (e.g. start/stop data collection), or add other researchers.
If the researcher you are adding happens to also be an organization admin, they will have admin permissions on your study. These researchers that are also org admins are denoted by an asterisk, followed by the <name of your organization>-Admin.
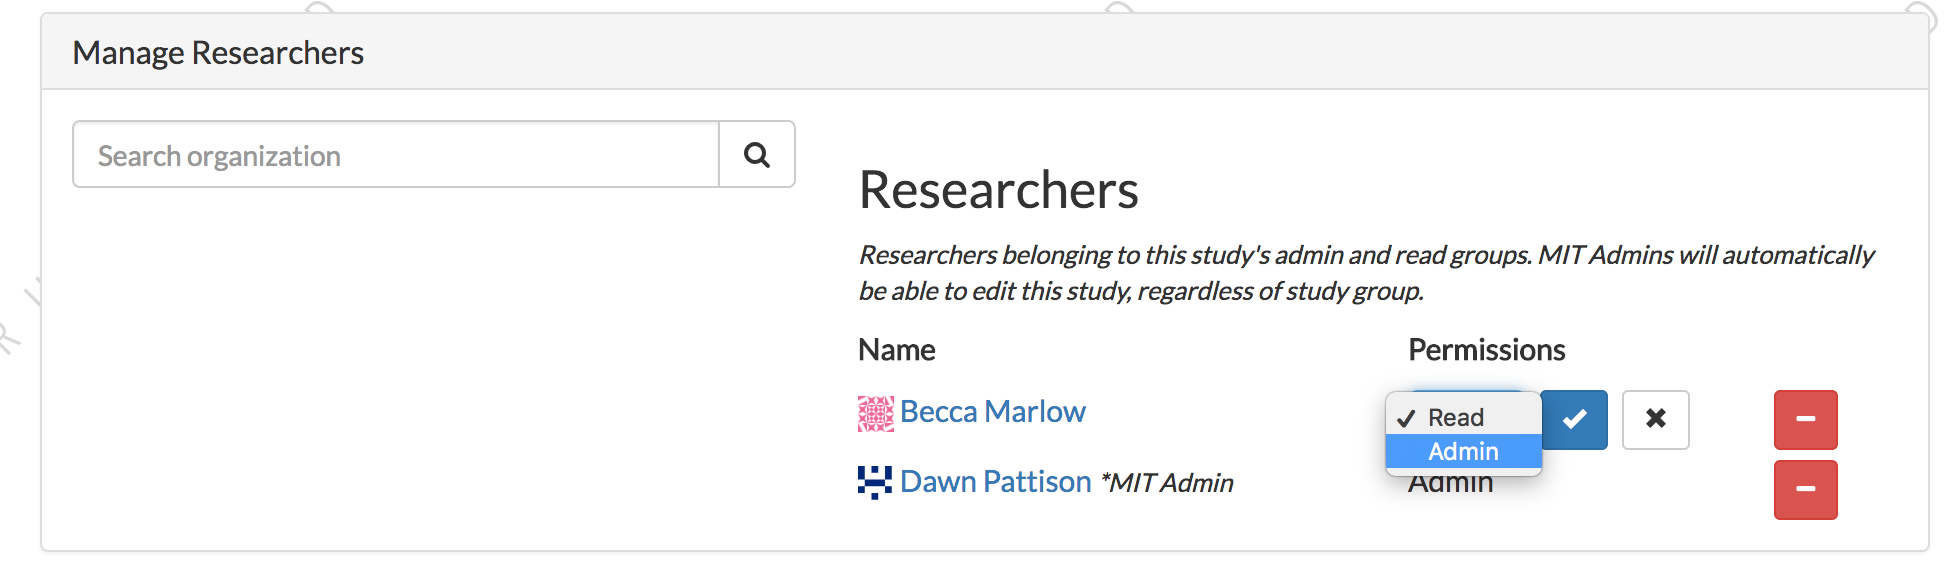
Editing researcher permissions on a study
To edit a researcher, select read or admin permissions in the dropdown beside the researcher name and click the checkmark. This will automatically give the researcher read or admin permissions. There must be at least one study admin at all times.
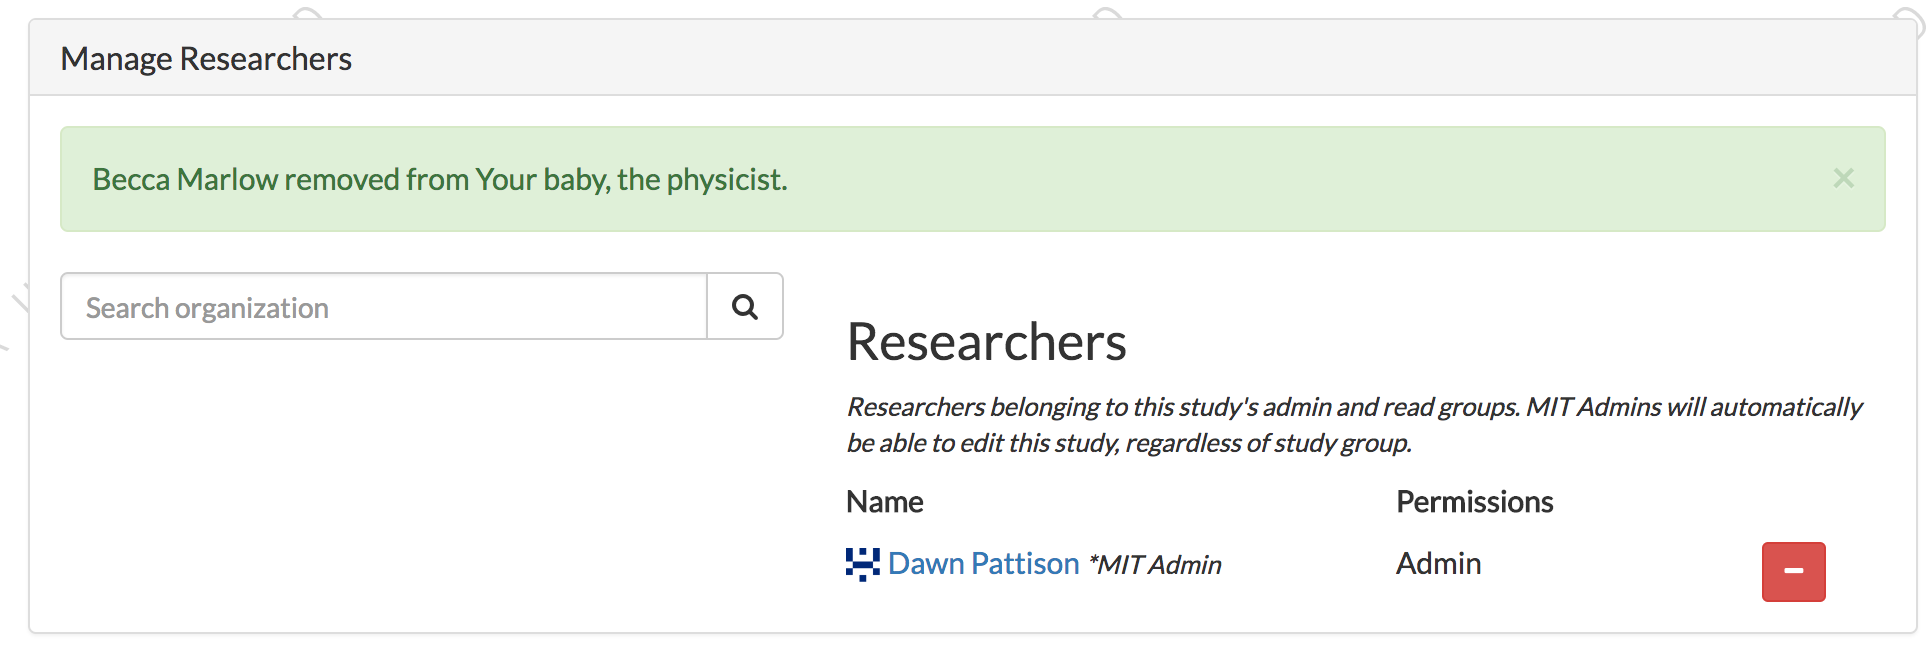
Deleting researcher permissions
To remove a researcher from a study, click the red minus button beside the researcher’s name. This will automatically remove the user’s study admin or study read permissions. There must be at least one study admin at all times, so it’s possible that you won’t be able to remove a researcher.
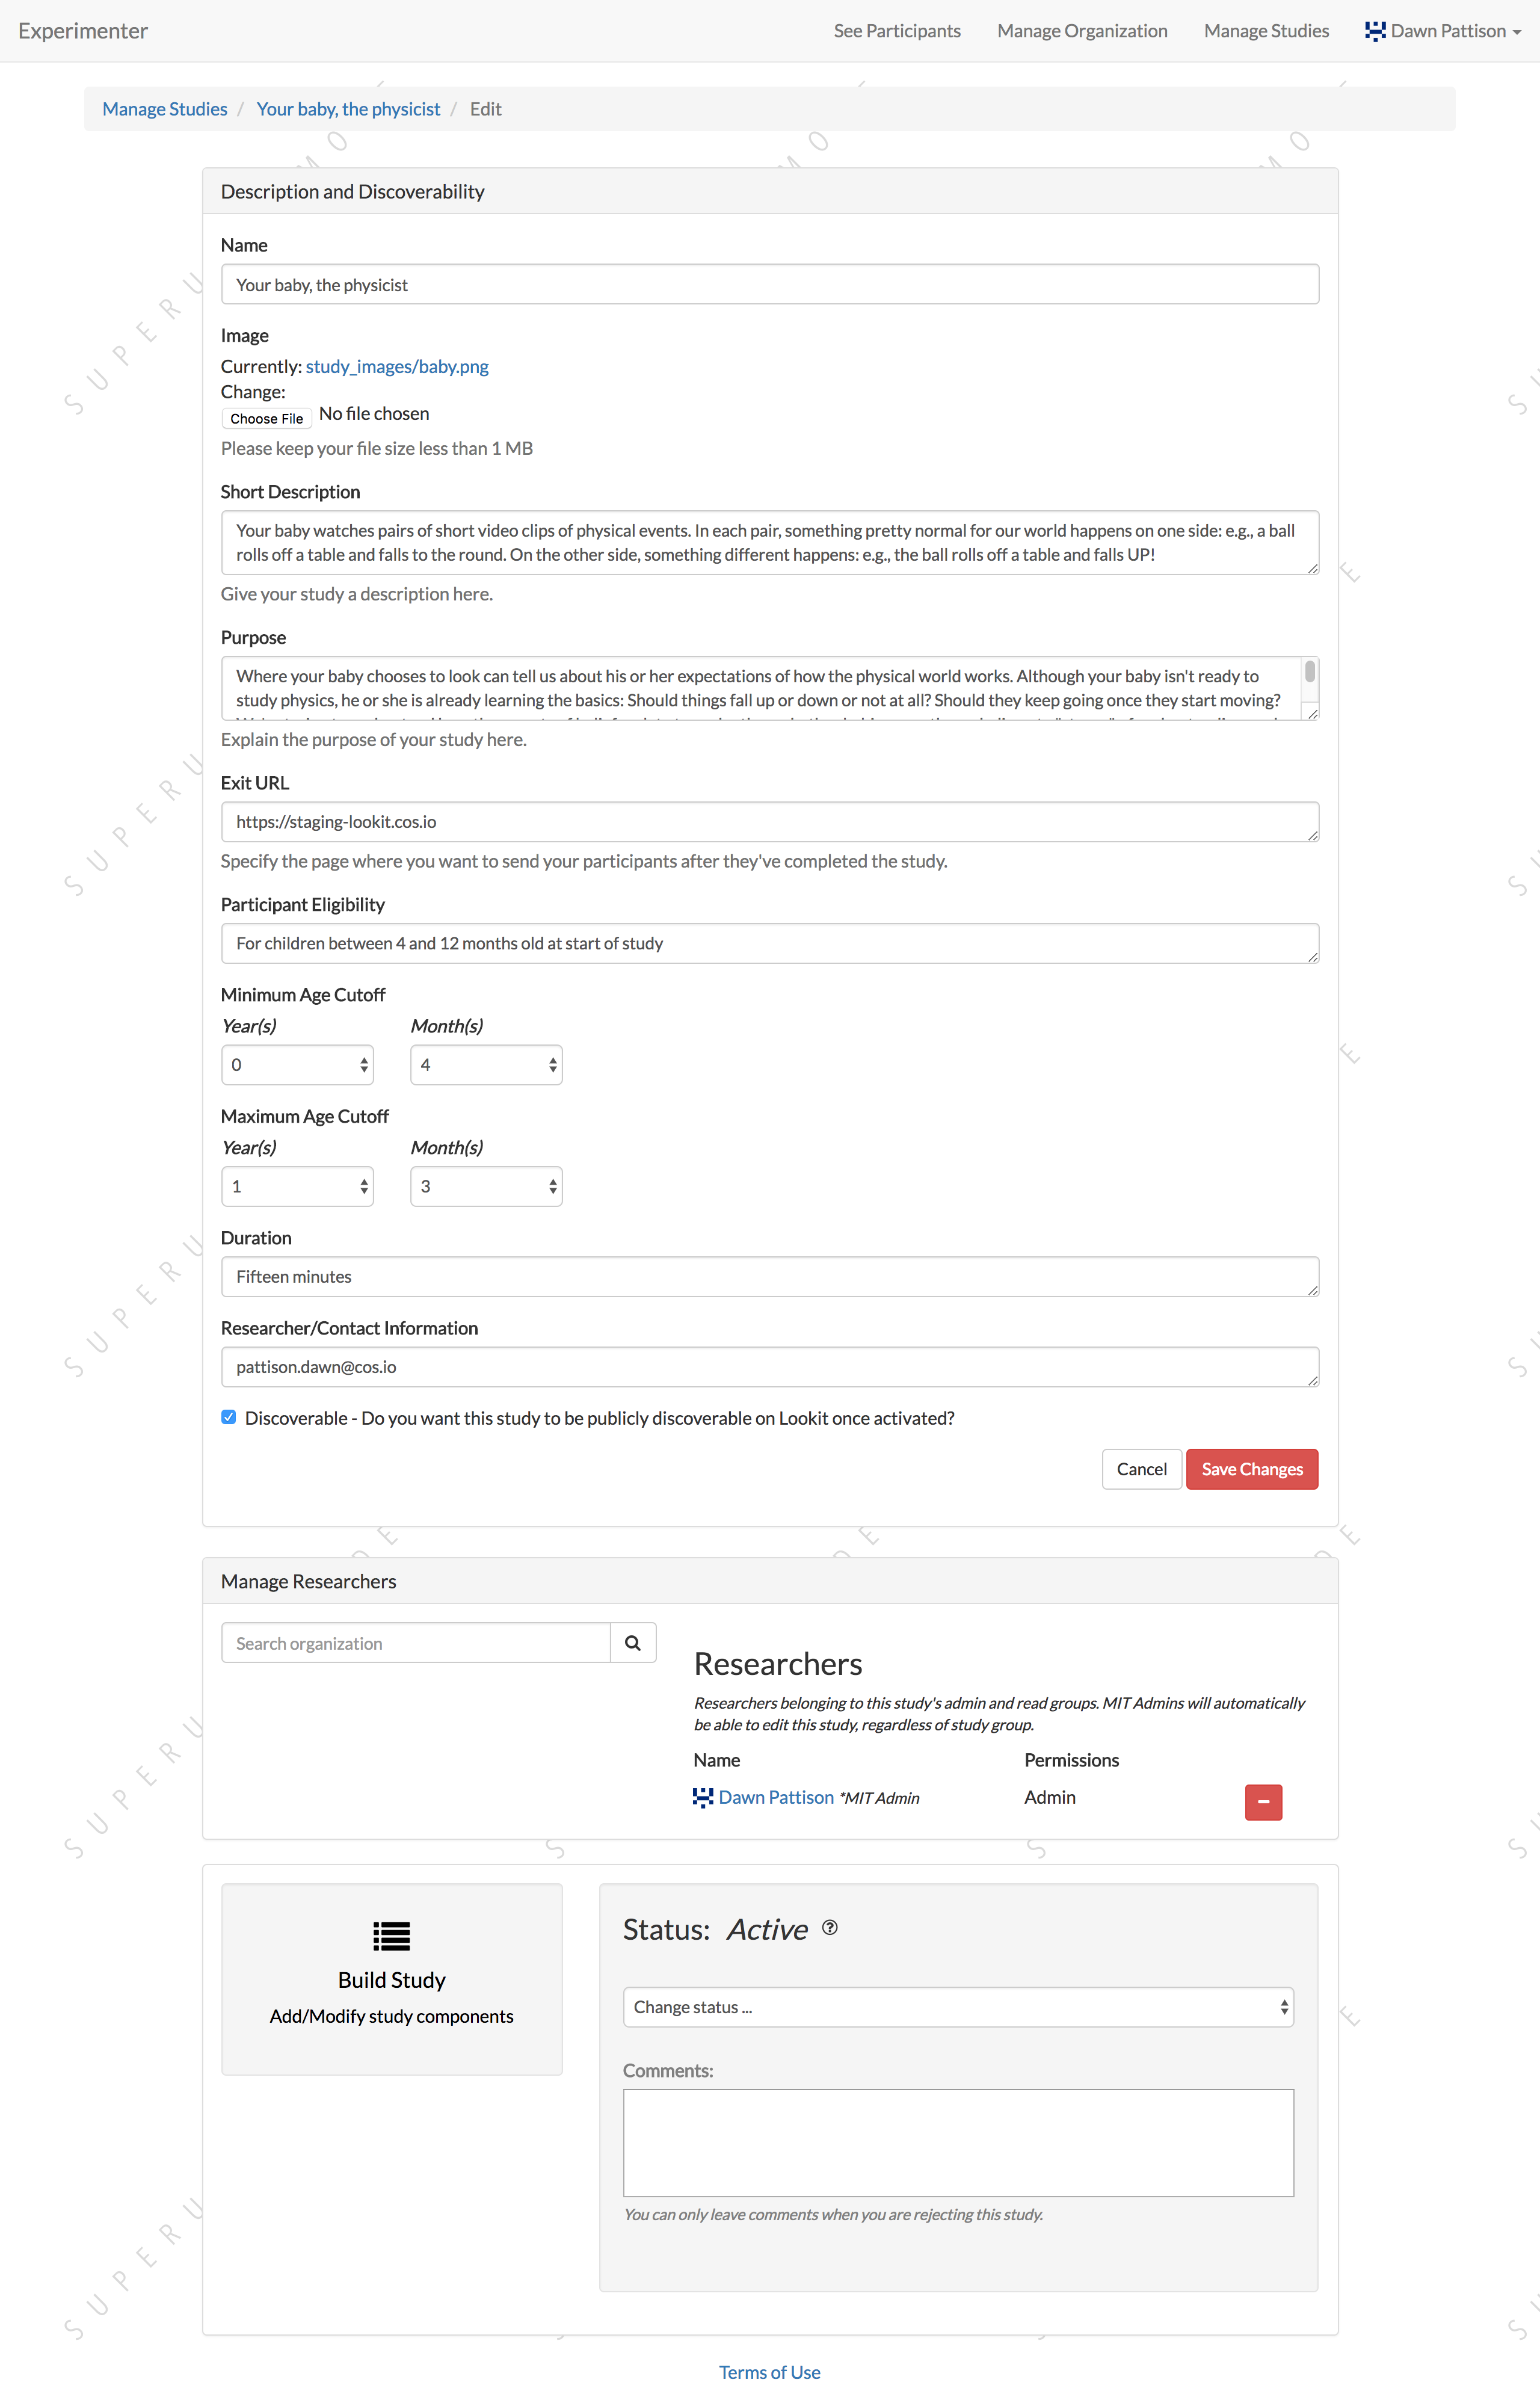
Study edit page
On the study edit page, you can update much of the metadata about the study. You can only view this page if you have permission to edit this particular study, meaning org admins or study admins. At the top of the page, you can edit fields like Name, and Description. See Creating a Study for more details.
To edit fields, change the information and click Save Changes in the middle of the page. If your study has already been approved, then the save button will be red. Otherwise it will be green. If your study has already been approved, then editing key details will automatically put the study in a rejected state. You must resubmit your study and get it approved again by an organization admin to run the study on the Lookit platform.
At the bottom of the edit study page, you can make edits to your study’s structure (the frames, or pages, in your experiment), and the sequence of those frames. You can also make advanced edits to the commits we are using to build your study.
Editing study structure
For more information about how to specify what happens during your study, see Building an Experiment.
To edit a study’s structure, click ‘Edit study’ from the study detail page. You must be a study admin or org admin to view this page. From this ‘study edit’ page, you can edit the study’s structure and the study type. The study structure specifies the frames (or pages) of your experiment, and also specifies the sequence.
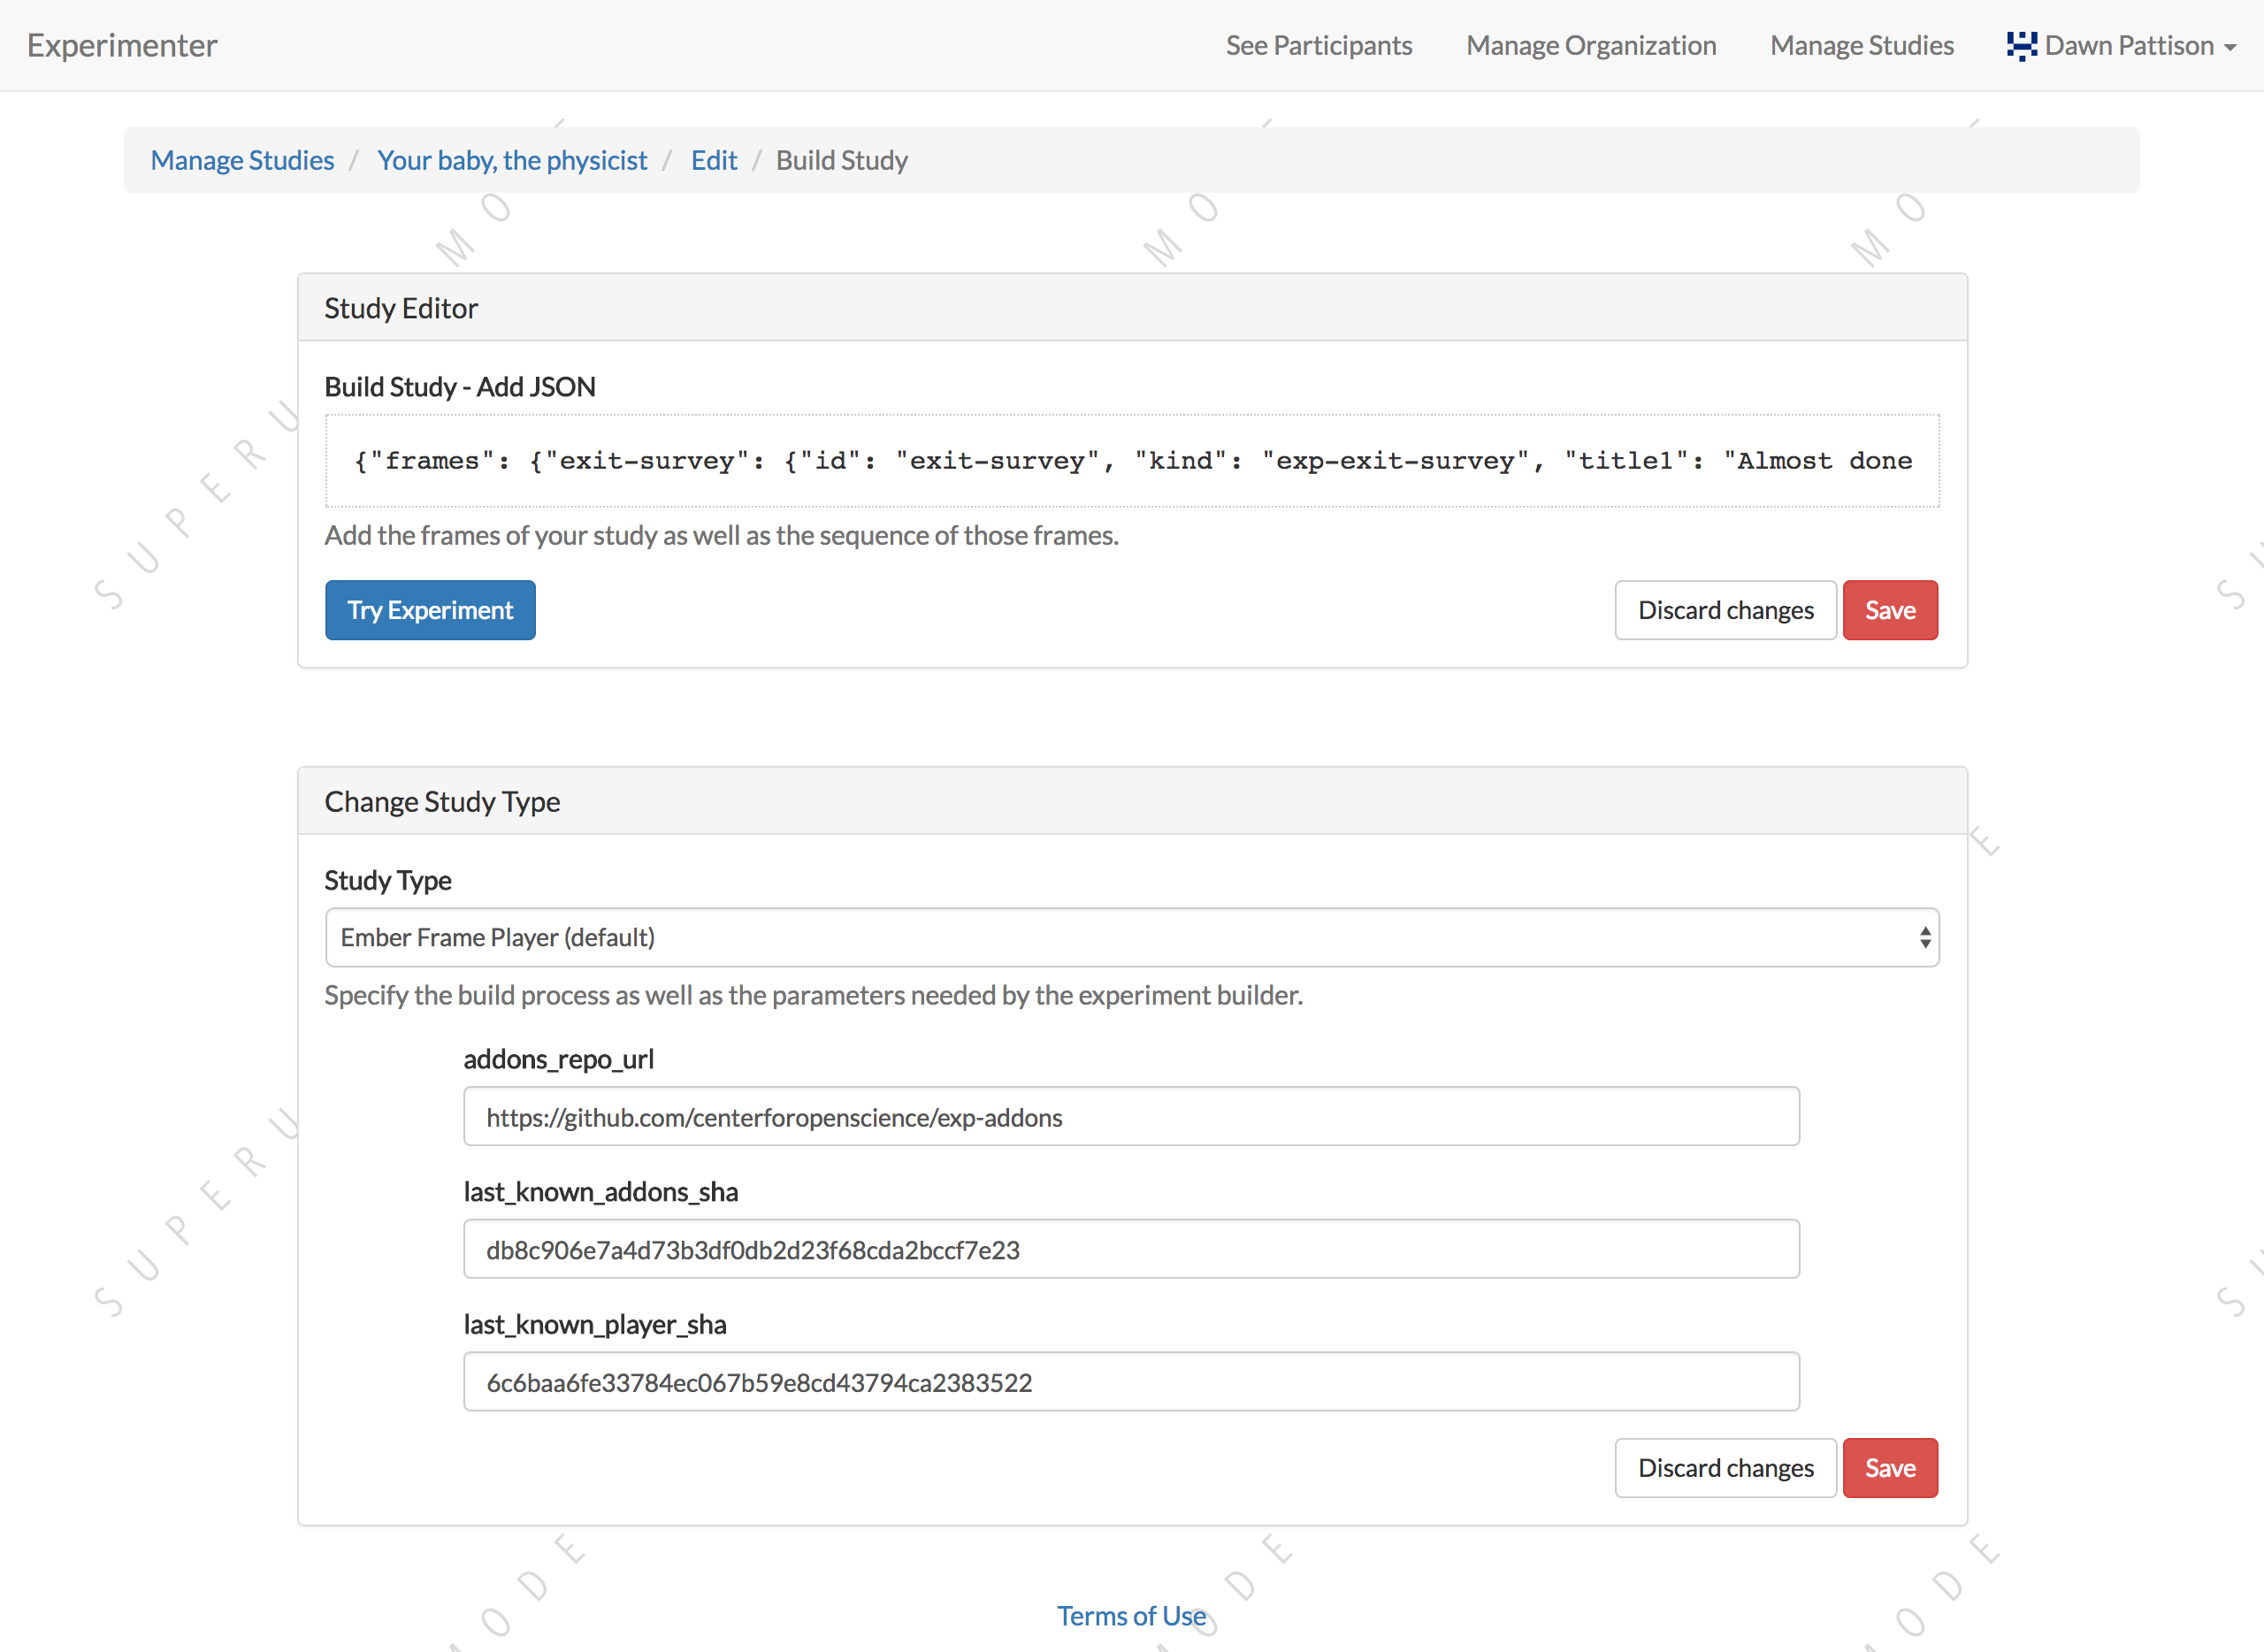
To edit the structure, click on the JSON block. A JSON editor will appear. Click on “Beautify” in the top right corner for better readability. Note that any invalid JSON will be shown via a little red X at the left of the relevant line! Once you are happy with your changes click ‘Close’. Then hit “Save” in the bottom right corner. If your study has already been approved, then clicking “Save” will automatically reject the study. You will have to resubmit it for an organization admin to reapprove.

To preview your study, click “Try Experiment”. (You will need to build preview dependencies first if you haven’t yet, or if you’ve changed the study type or which code to use.)
Editing study type
To edit a study’s type, click ‘Edit study’ from the study detail page.
The study type is the application you’re using to enable participants to take a study. Right now, we just have one option, the Ember Frame Player. It’s an ember app that can talk to our API. All the frames in the experiment are defined in ember-lookit-frameplayer, and the exp-player component can cycle through these frames.
If you don’t want any customization and want to use the existing player and frames, just select the defaults. These are advanced options!
What does each field mean?
- The
player_repo_urlis the repo where the frames and the player are stored. This is the default player_repo_url: https://github.com/lookit/ember-lookit-frameplayer. Advanced users may want to define their own custom frames for use with Lookit studies beyond those provided in the core library. (For more information about how to do this, see https://lookit.readthedocs.io/en/develop/developing-frames.html.) To use your own frame definitions, set the addons_repo_url to your own fork of the ember-lookit-frameplayer repo (e.g., https://github.com/yourname/ember-lookit-frameplayer instead of https://github.com/lookit/ember-lookit-frameplayer). You can then choose any commit SHA from your own repo.- The
last_known_player_shais the commit of the player repo to use. If you don’t add this, it will point to the latest commit in the default branch. To browse commits available for the experiment player ember-lookit-frameplayer and see what might have changed, you can look through https://github.com/lookit/ember-lookit-frameplayer/commits/. (Previously, ember-lookit-frameplayer contained just the frame player, with frames defined separately in an exp-addons repo. Do not use a frameplayer SHA from before these two repos were merged together, in March 2019)
Leave the field last_known_player_sha blank to use the default - the latest versions of the experiment player and frames that Lookit provides. When you build dependencies, the commit SHAs (unique IDs) of the latest versions will be fetched and filled in, so that you will continue to use this version for your experiment unless you deliberately update.
Important: Whenever you update the code versions you are using, you will need to build dependencies again to preview and to activate your study. This build process creates a special environment just for your study using exactly the code you selected, so that your study will continue to run as you designed it. By storing builds on Google Cloud Storage, pointing to specific commits, we can keep edits to frames from unintentionally breaking another study. You only need to build dependencies when you have changed the commit SHAs here - not when you update your study JSON or other data like the age range.
Viewing individual study responses
For information about interpreting study responses, see Experiment data.
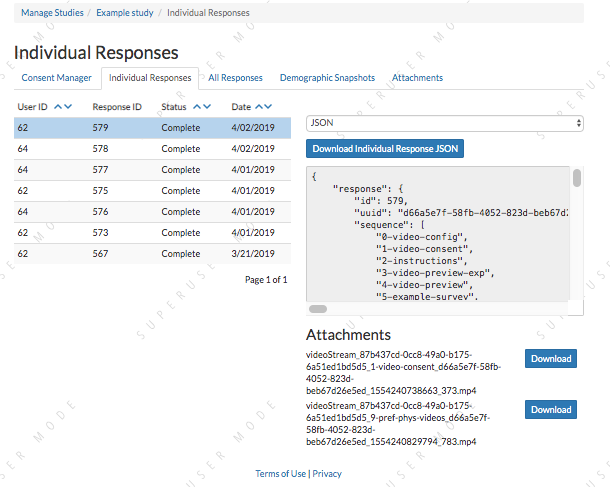
To view a study’s response, navigate to your study and click ‘View Responses,’ then ‘Individual responses’. You must have permission to view this study’s responses, which means you must be an Organization Admin, Organization Read, or belong to the Study Admin or Study Read groups.
Responses only show up in this view once you have confirmed that the participant provided informed consent to participate using the Consent Manager.
On the left, you have a list of participants that have responded to your study, with the response id, the study’s completion status, and the date it was modified. When you click on a participant, the JSON of that participant’s response is shown on the right. You can download the individual participant’s JSON response by clicking “Download Individual Response JSON”. Alternatively, you can select CSV in the dropdown, and click “Download Individual Response CSV”.
Beneath the CSV/JSON response data are any individual video attachments that are linked to that participant’s response. Exception: if the participant selected the ‘withdraw video’ option in an exit-survey frame at the end of the study, all video except for the consent video is unavailable (and will be deleted from Lookit servers as well in 7 days). There is a potential rare edge case where you access video while the participant is still doing the study, and then they withdraw, so you should still verify that none of your participants have withdrawn video.
Viewing all study responses
To view all of the responses to a study with confirmed consent, click ‘View Responses’ from the study detail page and then click ‘All Responses.’ You must have permission to view this study’s responses, which means you must be an Organization Admin, Organization Read, or belong to the Study Admin or Study Read groups.
By default, all study responses are displayed in JSON format. To download as CSV, select CSV in the dropdown and download. The study response data is supplemented with the study id, participant ids and nickname, and the associated child info.
Viewing demographics of study participants
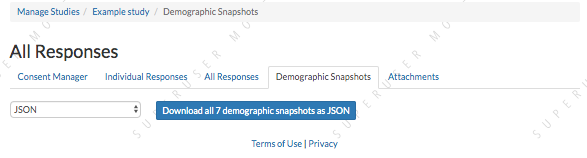
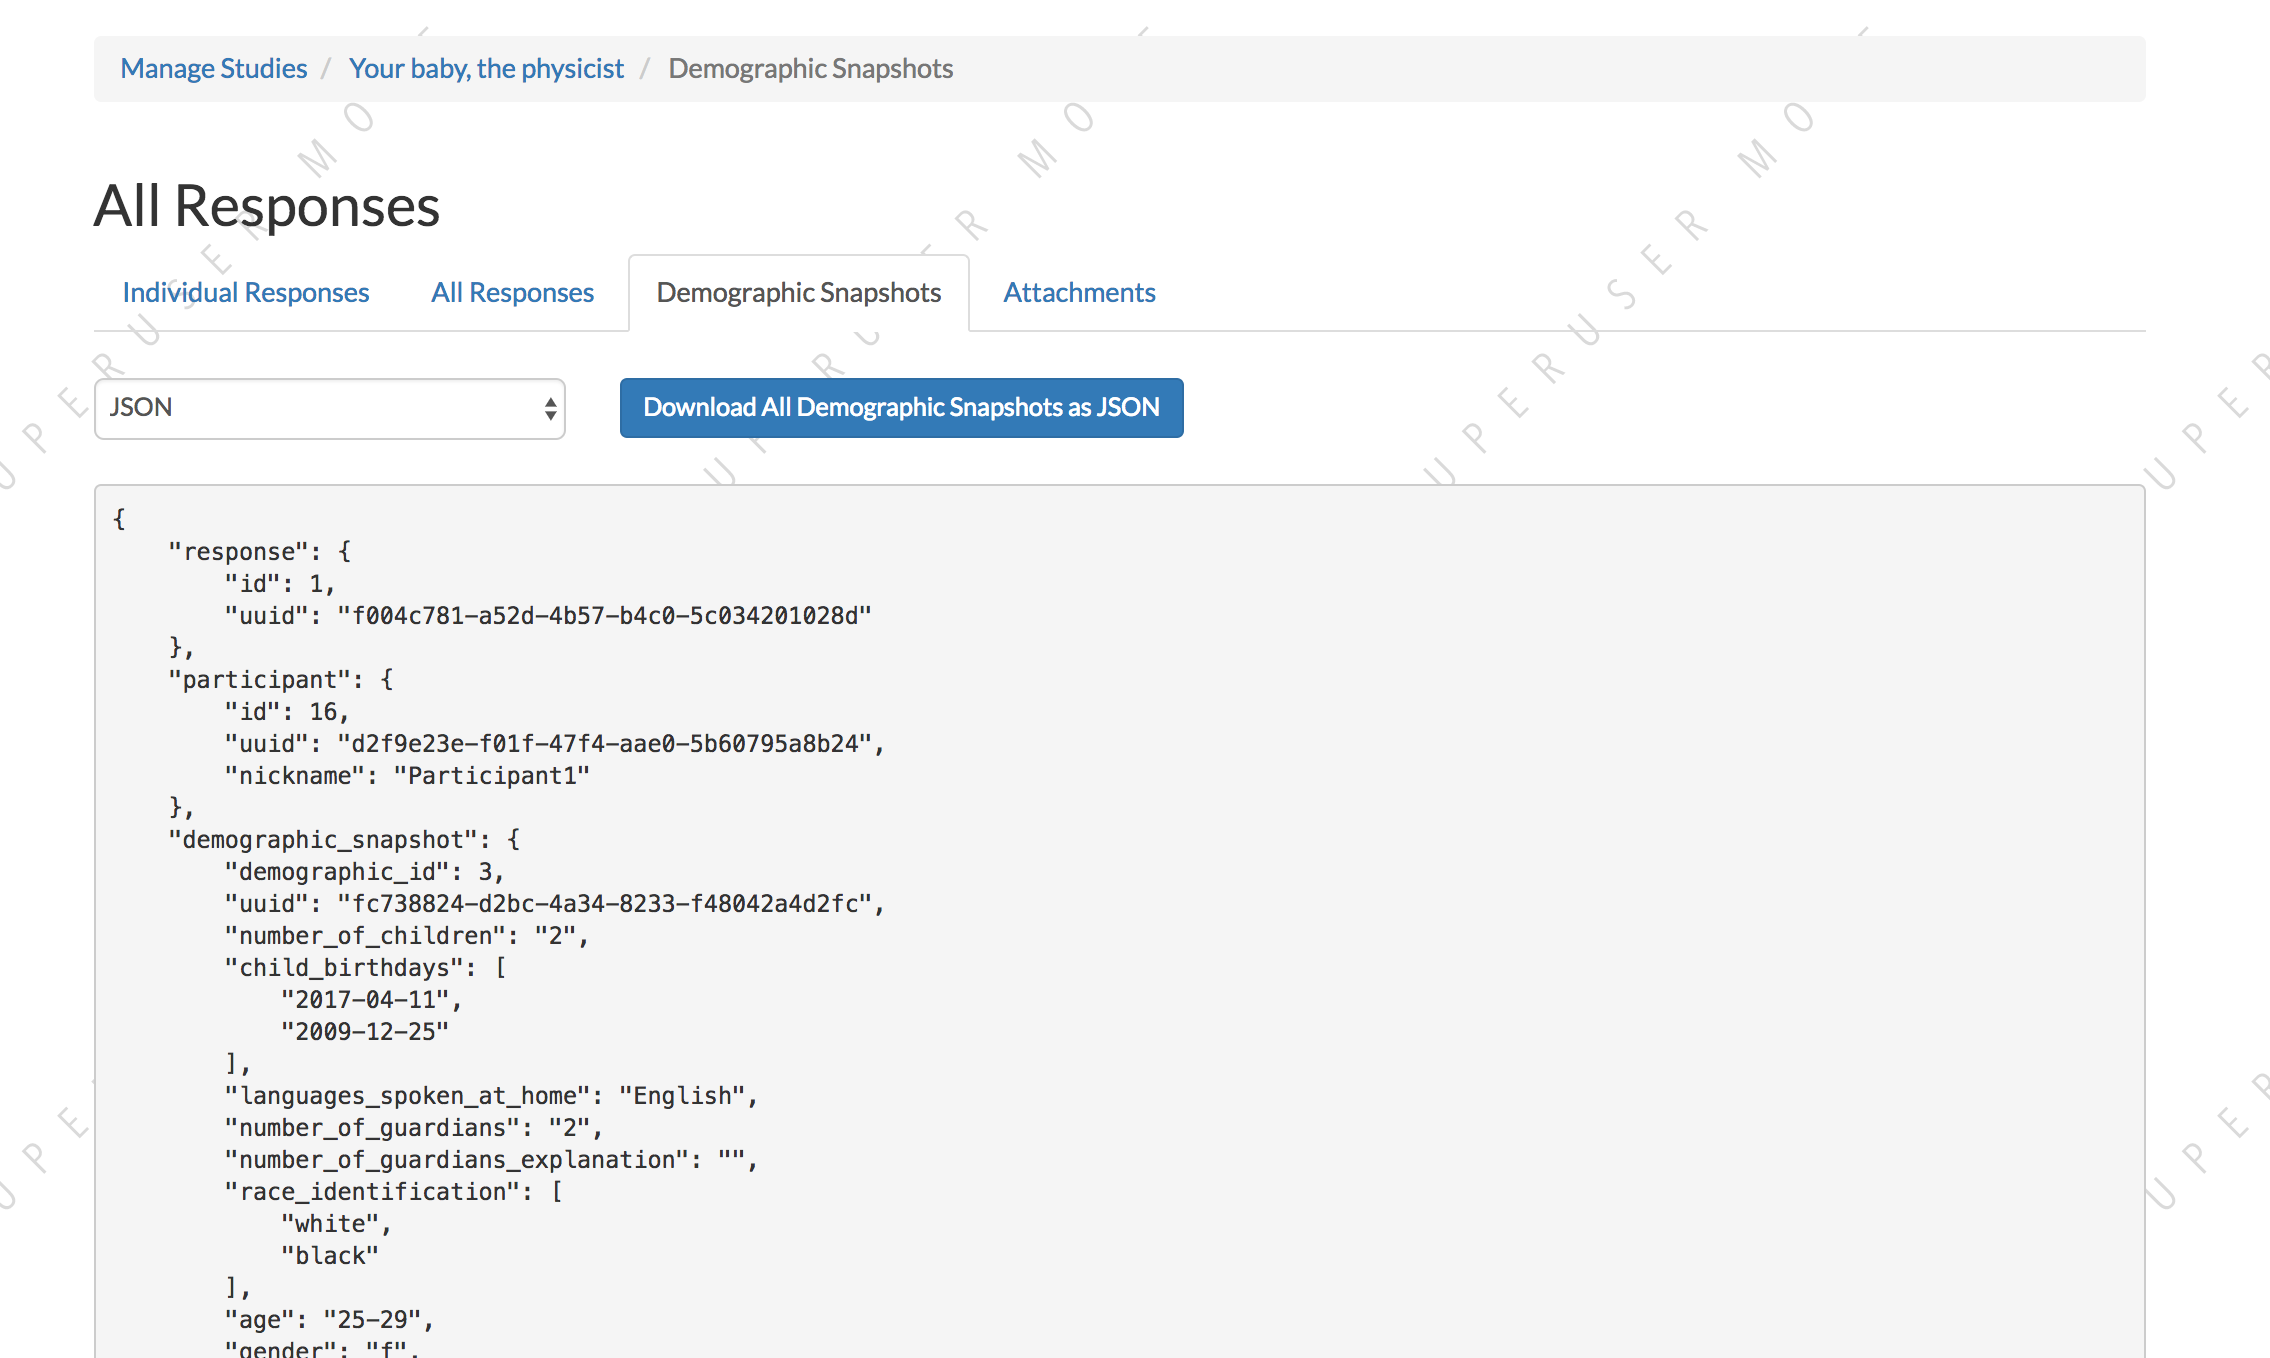
To view the demographics of participants that have responded to your study and have confirmed consent, click ‘View Responses’ from the study detail page and then click ‘Demographic Snapshots.’ You must have permission to view this study’s responses, which means you must be an Organization Admin, Organization Read, or belong to the Study Admin or Study Read groups.
This list is generated by looping through all the responses to your study, and displaying the demographics of the associated participant. If a participant has responded multiple times, the demographics will appear multiple times. Demographic data was versioned, so the demographics associated with each response will be the demographics that were current at the time the participant responded to the study. You can download the demographics in JSON or CSV format.
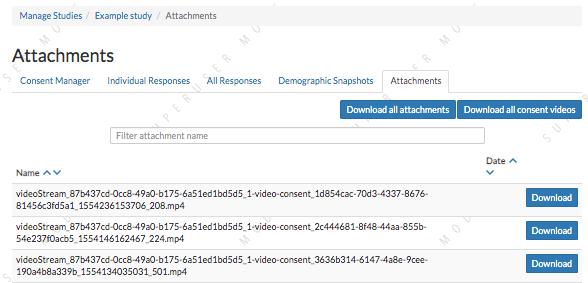
Viewing all study videos
To view all video responses to your study from sessions with confirmed consent,click ‘View Responses’ from the study detail page and then click ‘Attachments.’. You can filter on video attachment name. The format of the video names is videoStream_{study_uuid}_{order-frame_name}_{response_uuid}_{timestamp}_{randomDigits}.mp4
Video attachments can be downloaded individually. You also have the option of bulk downloading all consent videos for your study, or bulk downloading all responses. The bulk download will take place asynchronously, so once the videos have been downloaded and put in a zip file, you will get an email telling you this is done.
Managing your Organization
Currently all researchers using Lookit are part of a single ‘MIT’ organization. The organization construct will eventually allow labs to manage access for their own students and RAs. For now, though, these instructions just apply to Lookit admins.
Adding researchers to your organization
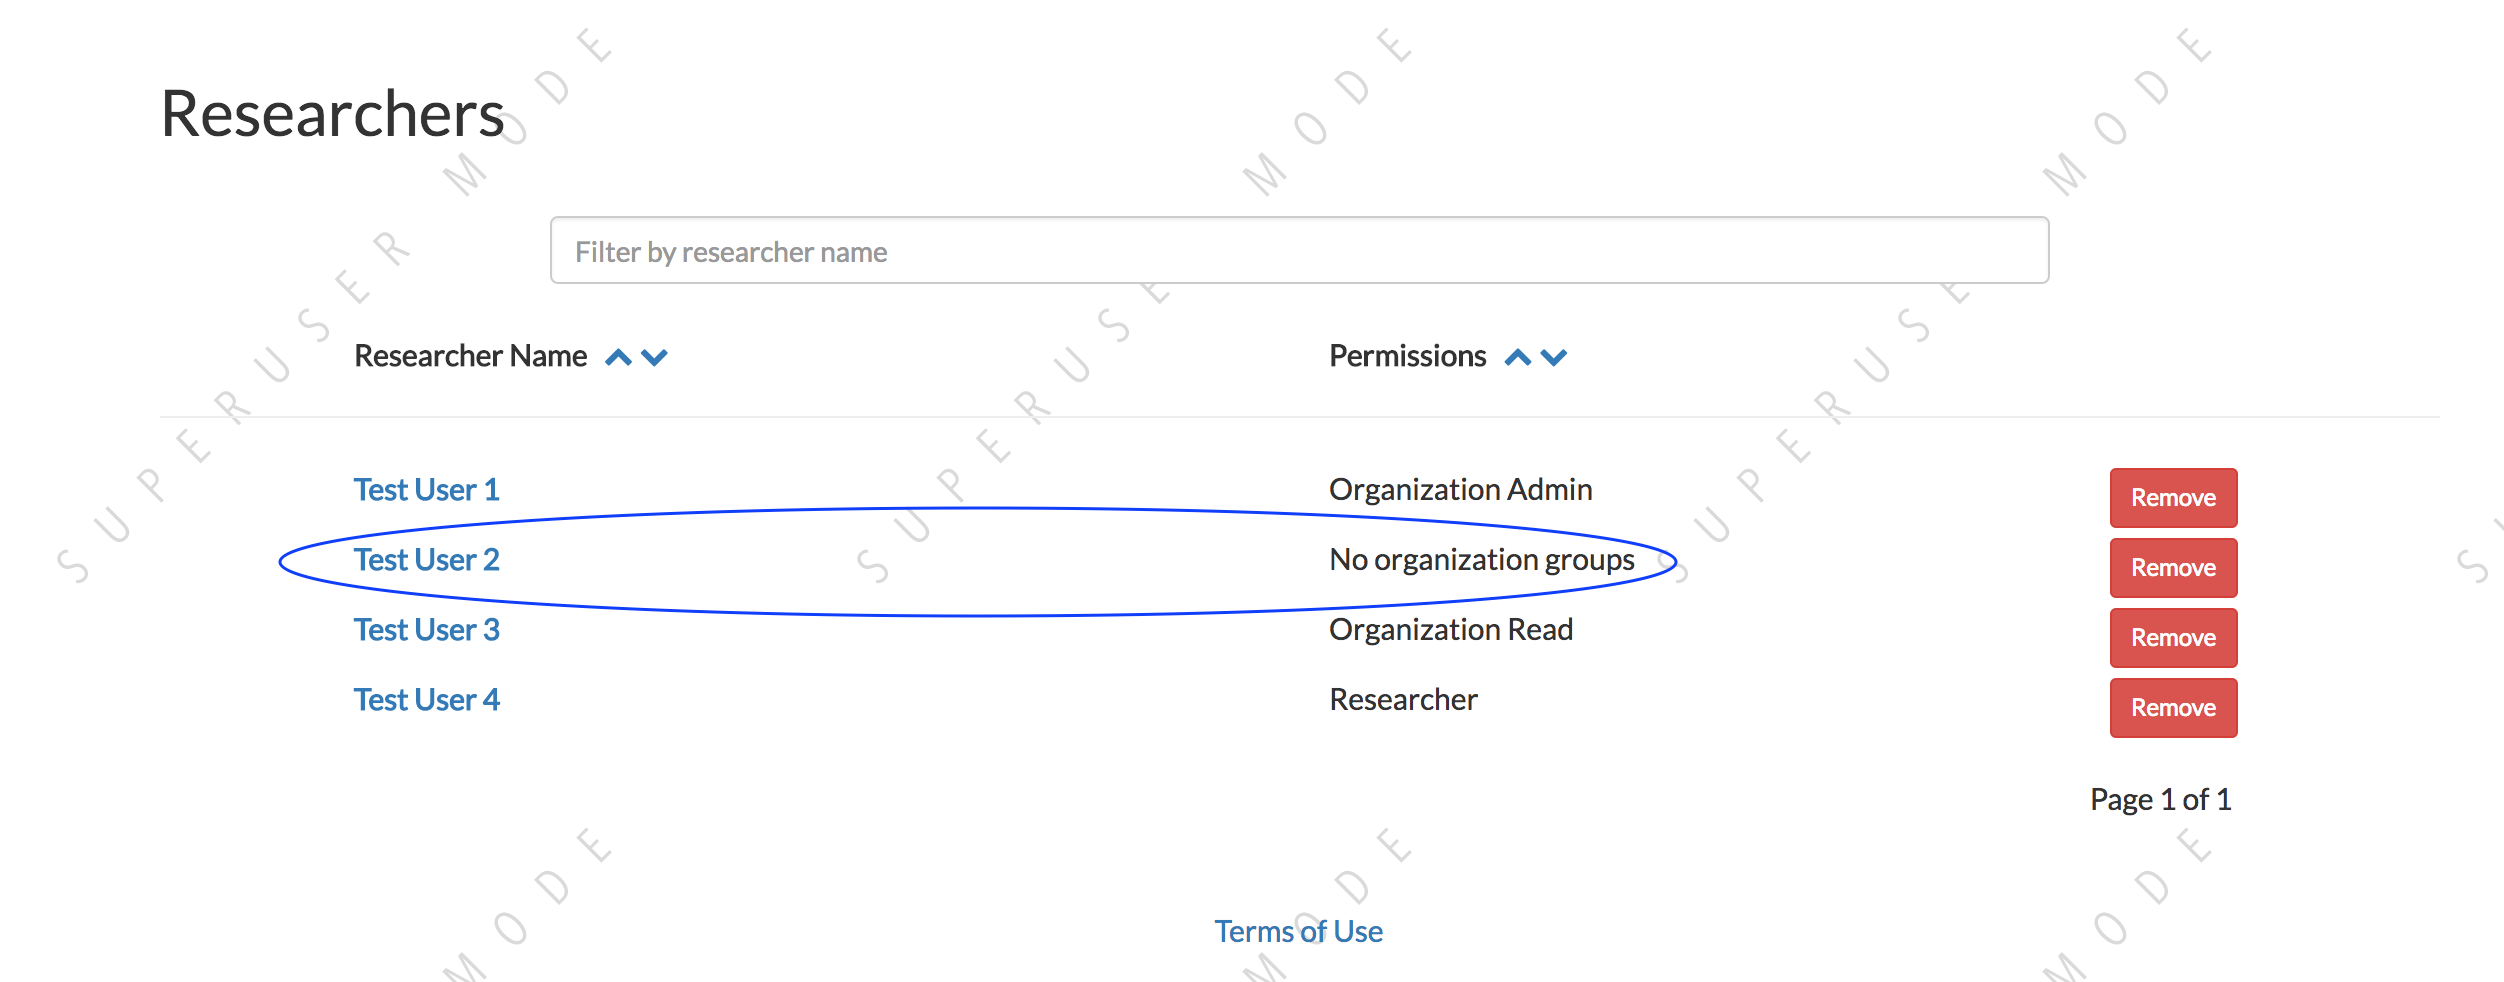
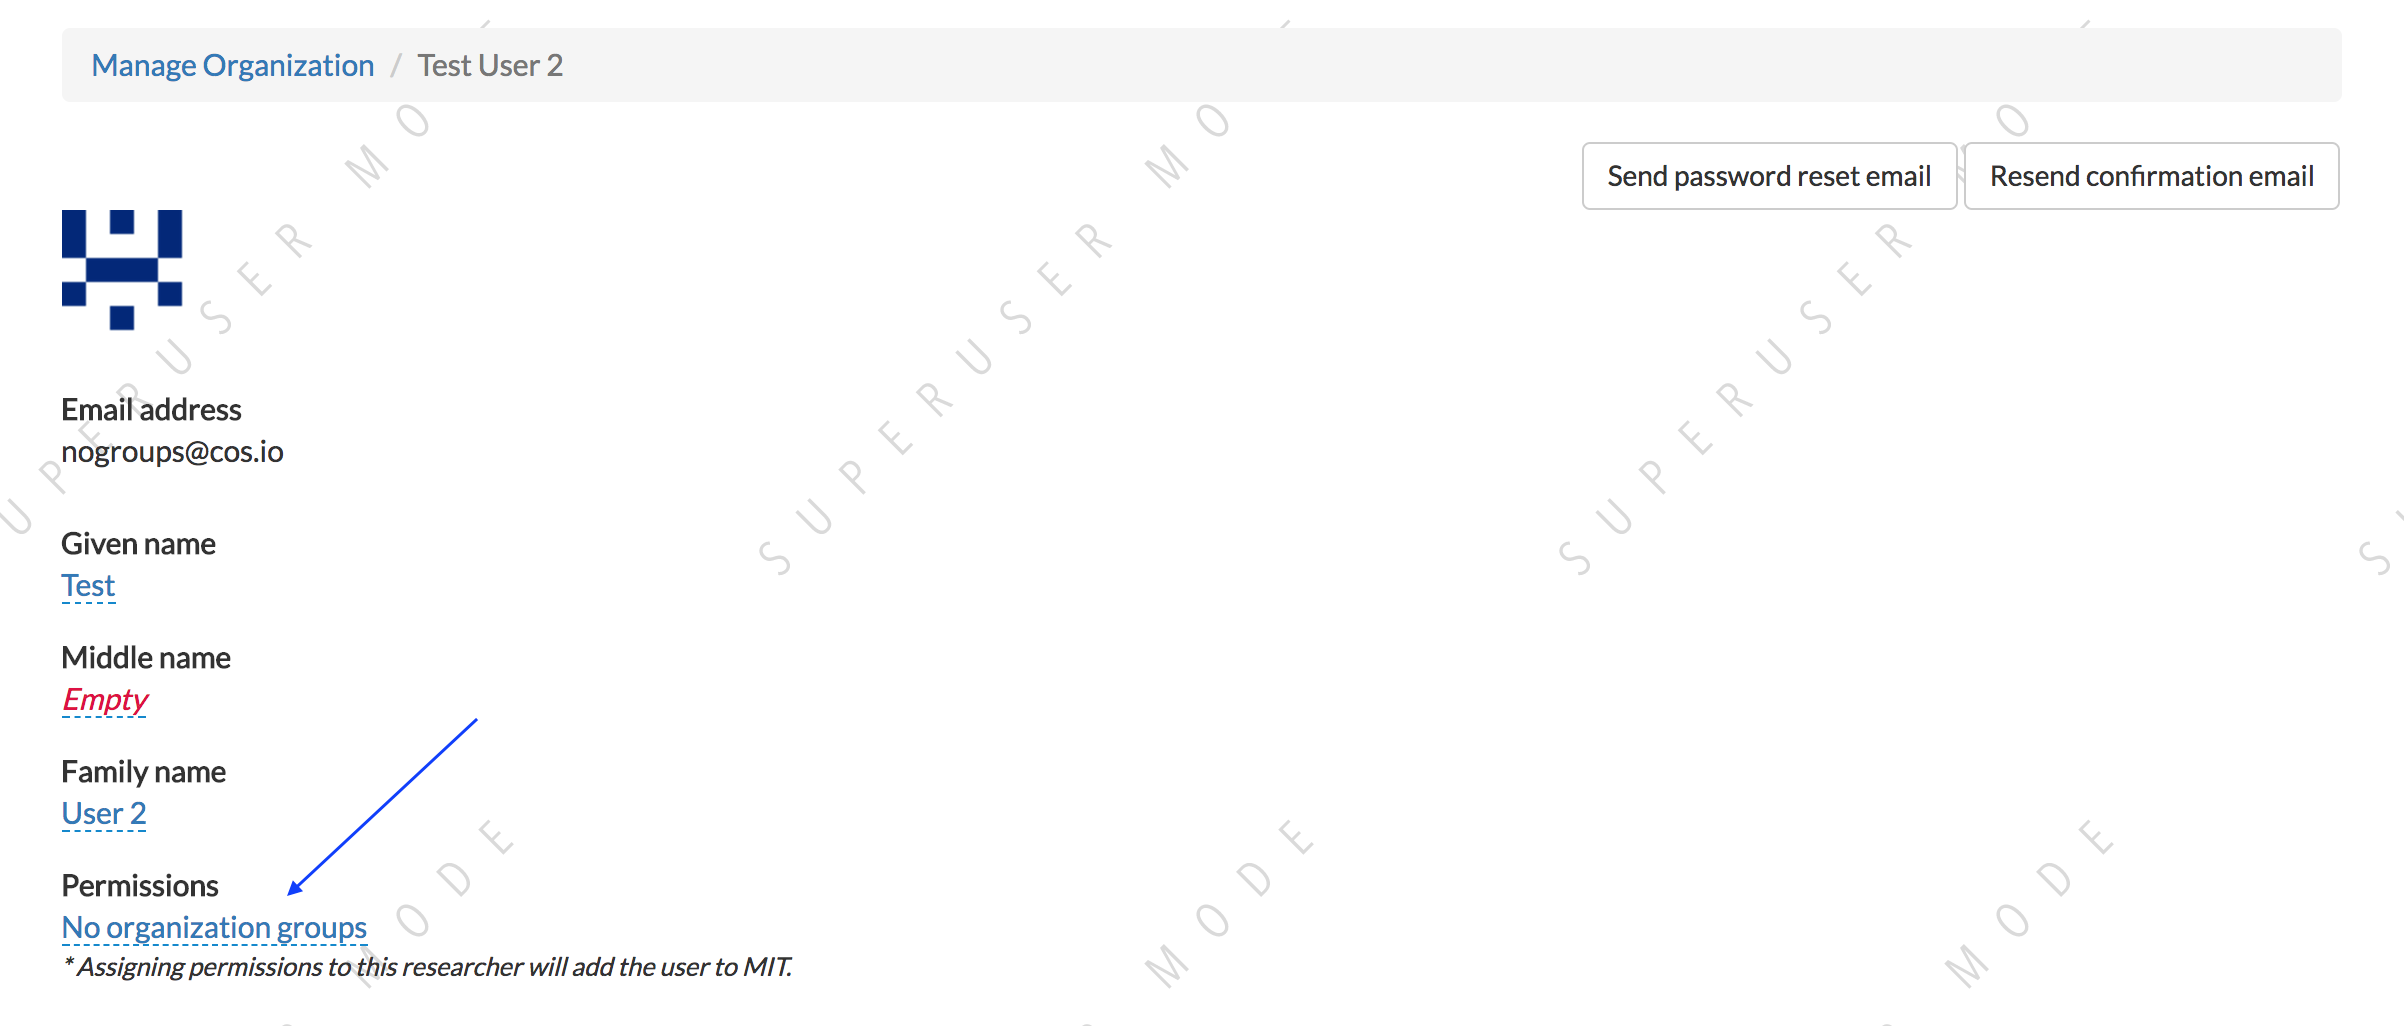
Navigate to Manage Organization https://lookit.mit.edu/exp/researchers/. Only users with organization admin and organization read permissions can view other researchers in the org. The researchers displayed are researchers that currently belong to your organization, or researchers still needing approval. Researchers awaiting approval have “No organization groups” listed as the permission. Navigate to a researcher awaiting approval (only organization admins are permitted to do this).
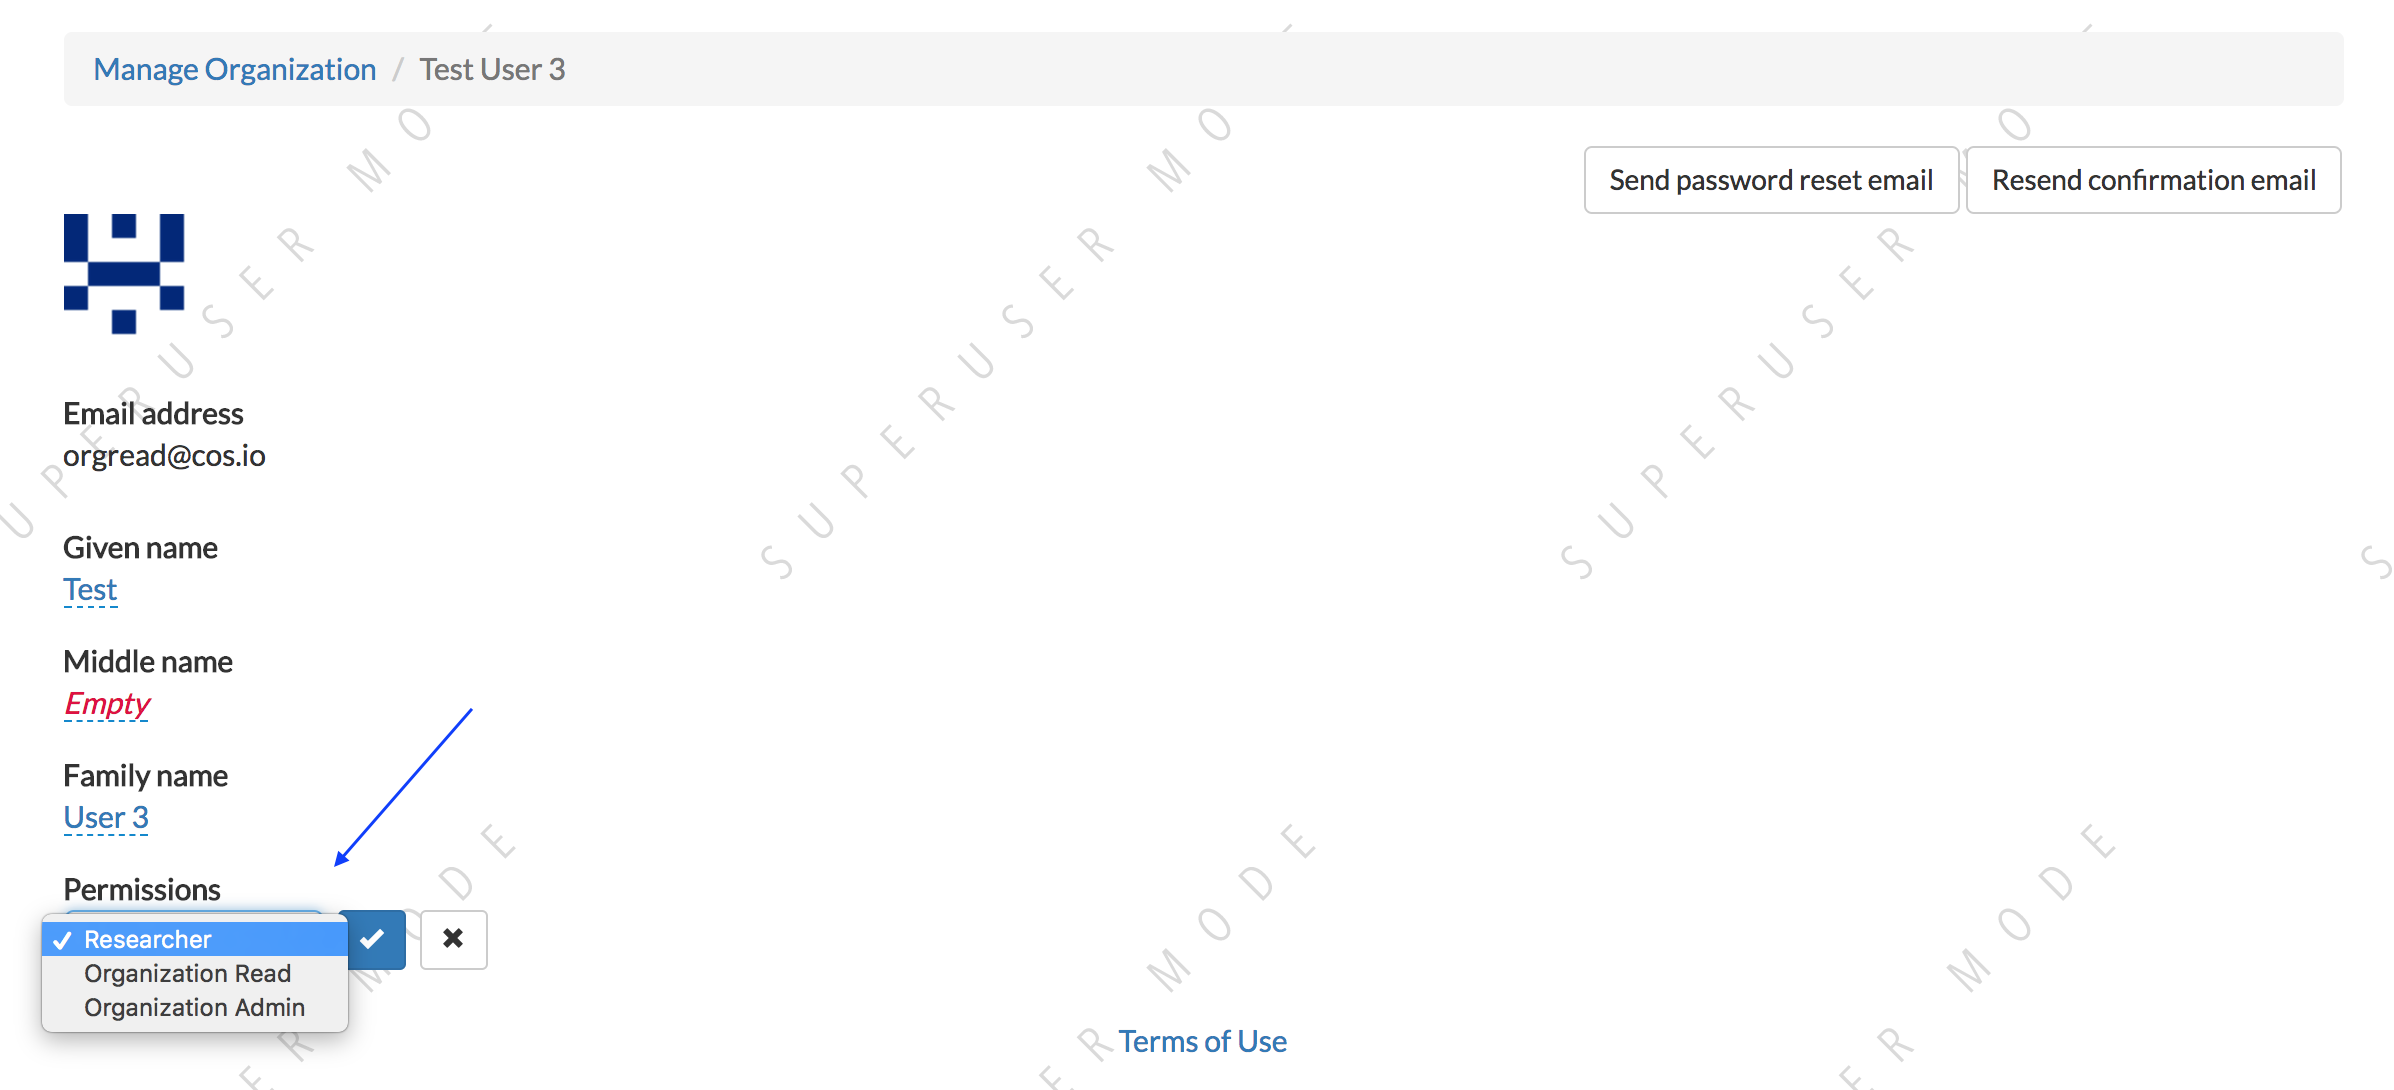
Under permissions at the bottom of the researcher detail page, select Researcher, Organization Read, or Organization Admin from the dropdown, and click the check mark. This will give that researcher the associated permissions and add them to your organization. They will receive an email notification.
Editing a researcher’s organization permissions
Navigate to a particular researcher’s detail page https://lookit.mit.edu/exp/researchers/<researcher_id>. Only organization admins can view this page. Under permissions at the bottom of the researcher detail page, select Researcher, Organization Read, or Organization Admin from the dropdown, and click the check mark. This will modify the researcher’s permissions.
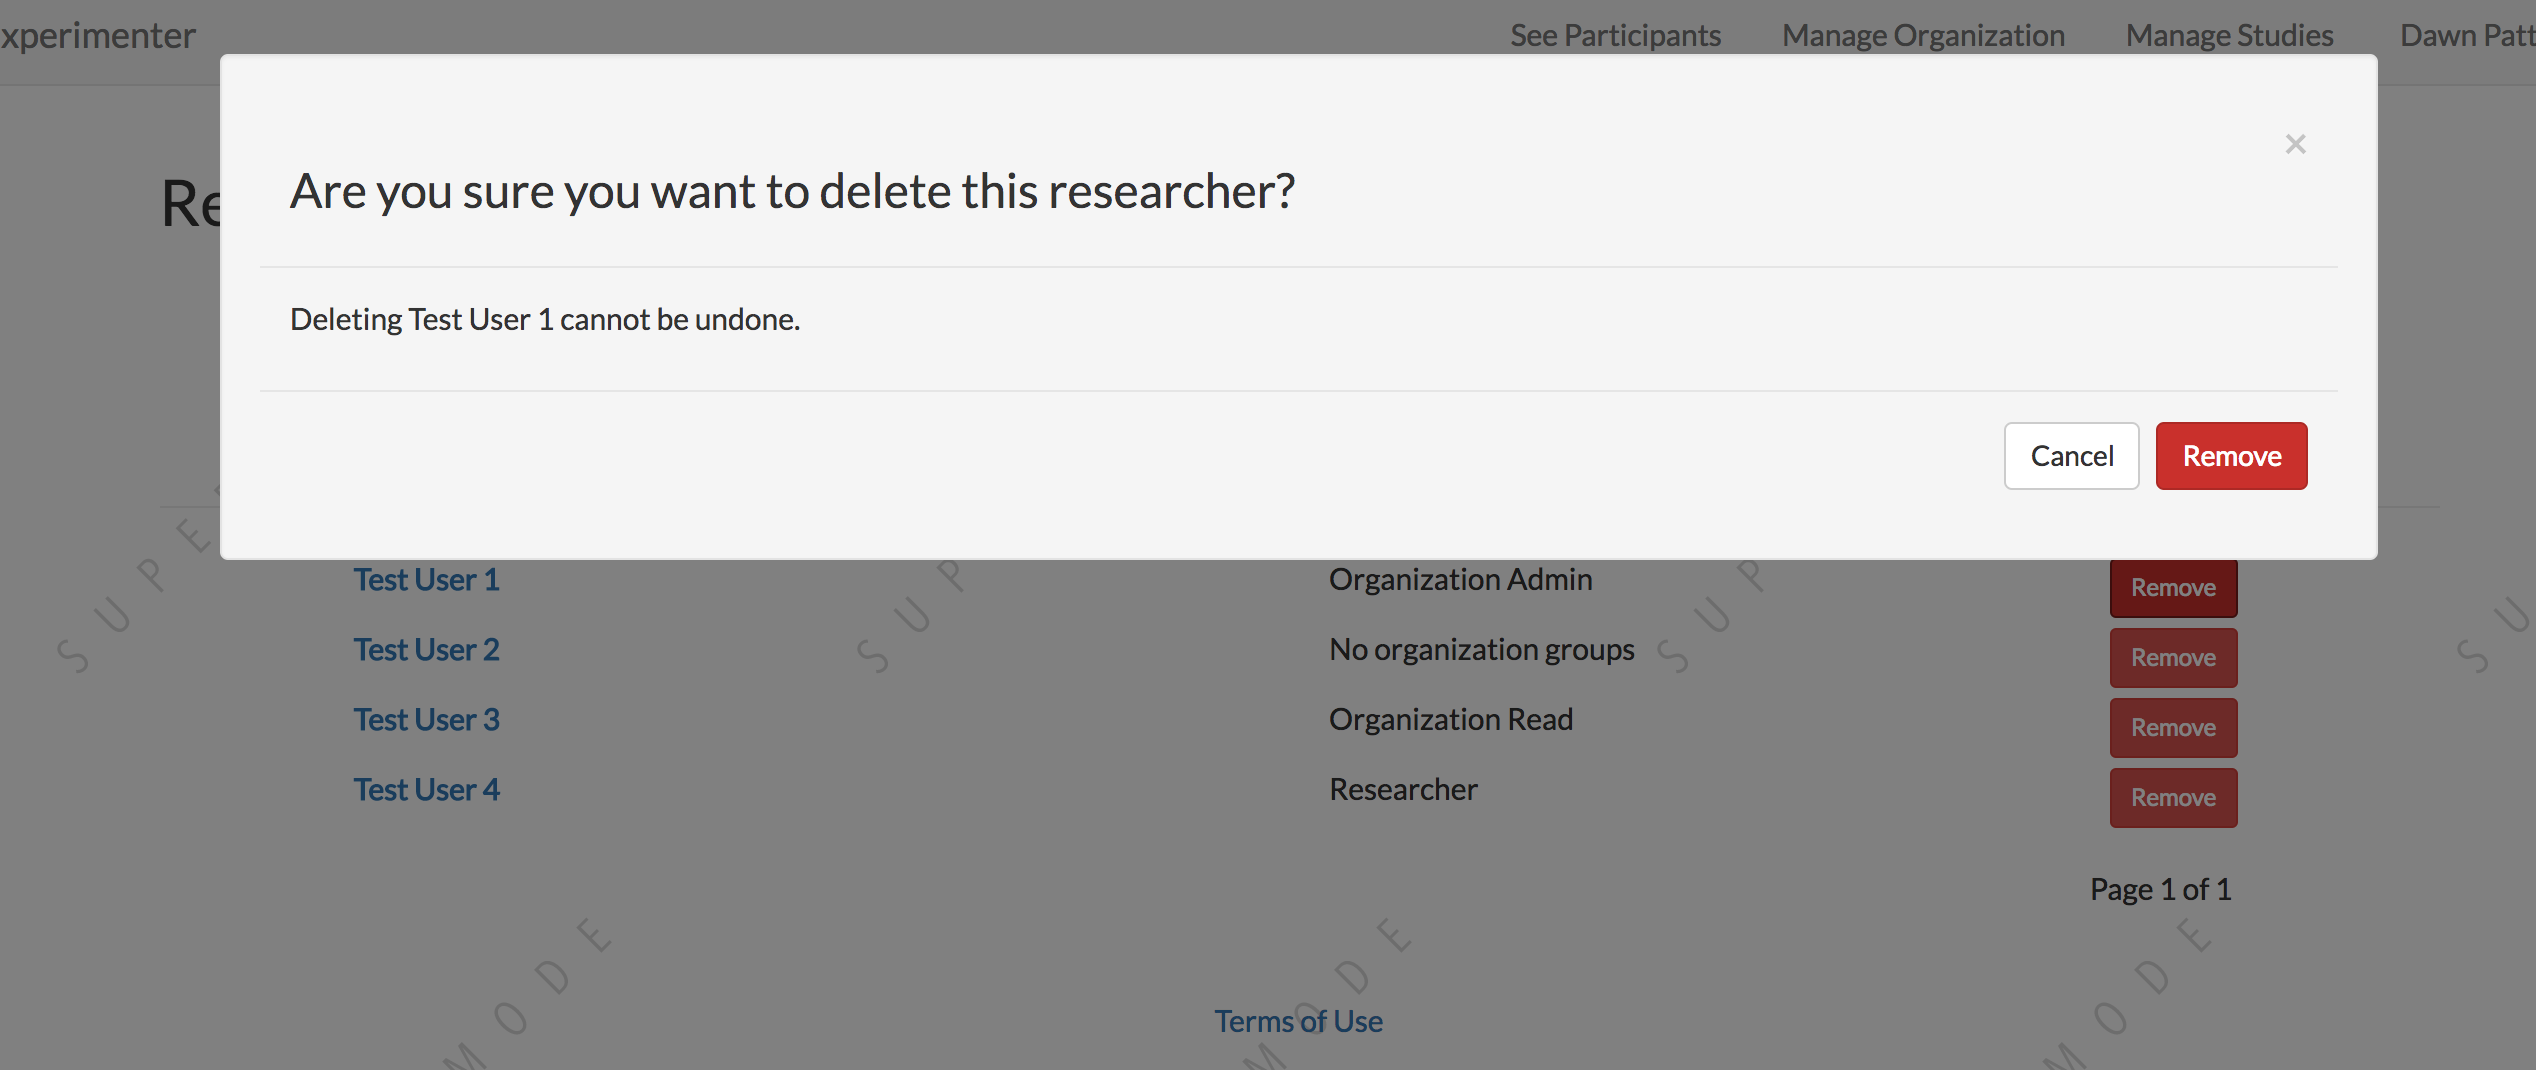
Deleting a researcher’s organization permissions
Navigate to Manage Organization https://lookit.mit.edu/exp/researchers/. Only users with organization admin and organization read permissions can view other researchers in the org. Click “Remove” beside the researcher you wish to delete, and then click “Remove” again in the confirmation modal. The researcher will be marked as inactive and will no longer be permitted to login to Experimenter.