Labs on CHS
Each study on Children Helping Science is associated with a lab. Some basic information about each lab is stored on CHS, like the lab’s name, a contact email, and whether the lab has been approved to use CHS to collect data. In the future, this information will be used to create a display page where participants can learn more about your lab, but for now, it is only visible to researchers.
Researcher accounts on CHS can be affiliated with any number of labs. Only a researcher who is part of a lab can be granted permissions to studies that lab is running. Researchers can also be granted some permissions for the lab as a whole: for instance, to edit the lab description, manage membership, or see all studies the lab is running.
The Sandbox and Demo labs
There are two “special” labs that everyone on CHS is added to automatically. When you log into CHS for the first time, if you click on “Manage Labs,” you should see something like this:
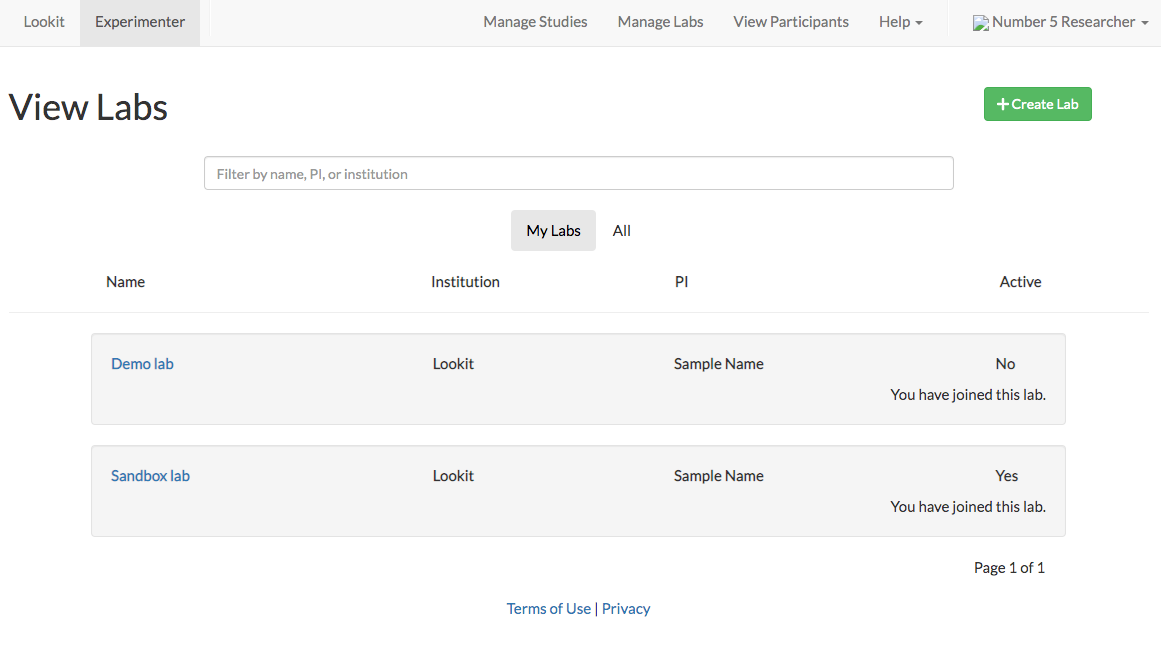
You are added as a “Guest” in the Sandbox lab. This means you can create new studies associated with the Sandbox lab, and you can be given permissions to other studies associated with the Sandbox lab. However, you can’t change the lab or see all the studies it is running. If you’re working through the tutorial or trying out CHS to see how it works, you can work on studies in the Sandbox lab and not have to create your own lab.
You are added with “View” permissions in the Demo lab. This means you can see and preview all of the studies in the Demo lab, but not create any new studies in this lab. We keep some example studies in the Demo lab so that everyone can see them. You can clone any of the Demo lab studies into the Sandbox lab or your own lab so you can edit a copy.
Creating a new lab
From the “Manage Labs” page, click the green “Create Lab” button. This will take you to a form where you can enter the information about your lab. When you click “Submit,” the lab will be created, with you as an admin, and CHS staff will be notified of the new lab. You will be able to see your new lab in your list of labs.
Approval to test
Once CHS staff receive a signed institutional agreement for your lab to use CHS, and at least one of your lab members has completed the Terms of Use quiz, your lab will be changed to “approved to test.” Lab admins will be notified by email when the lab is approved to test. You can also see whether a lab is currently approved to test by clicking on it in the list of labs to view more details:
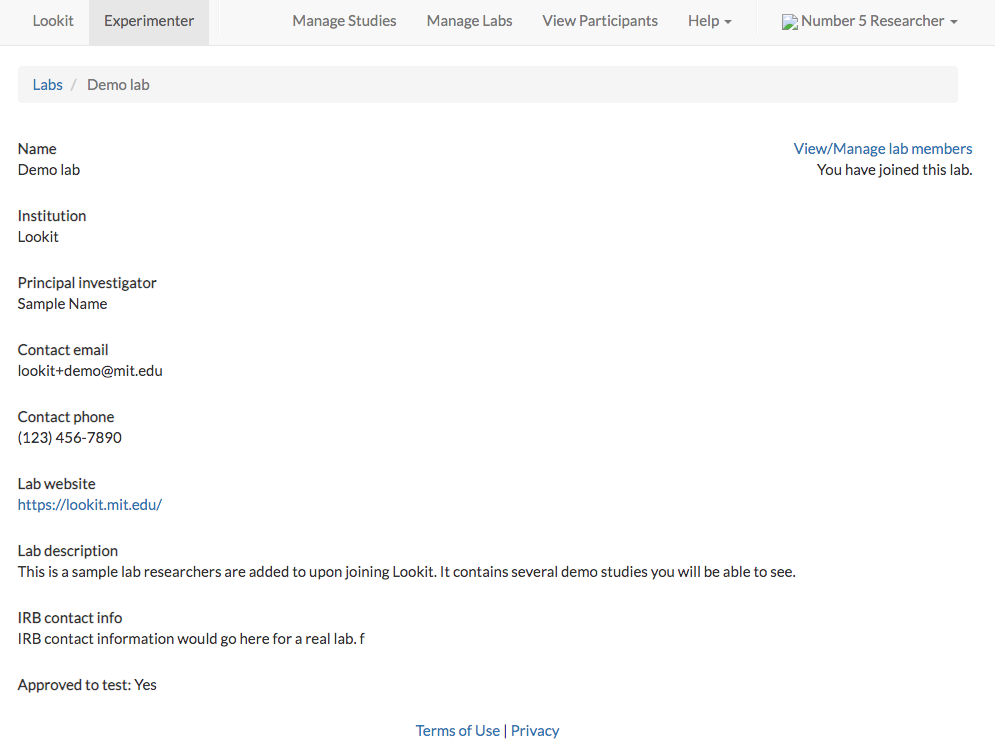
Before a lab is approved to test, you can add and manage lab members and create studies associated with the lab; you just won’t be able to submit or start those studies yet.
Individual studies will still require review - the lab being approved to test is not blanket approval for all studies you might run.
Joining an existing lab
If your lab is already on CHS, you can find it and join it. Go to “Manage Labs” and click the “All” tab. Then you can search by name, PI name, or institution to find the lab. Click “request to join” next to the lab you would like to join. (You can also click on the lab to get more details first!)

The lab admins will receive an email notifying them of your request, and you will be emailed when they add you.
Adding lab members and managing permissions
Researchers have to request to join your lab; you don’t add them directly. As a lab admin, you will receive emails when new researchers request to join your lab. You can also set researchers’ permission levels. There are three roles you can assign researchers to:
- Guest
Can create new studies associated with this lab, and can be given permissions to specific studies associated with this lab
- Lab member
Guest-level permissions, plus: can READ_STUDY_DETAILS, READ_STUDY_PREVIEW_DATA, and CODE_STUDY_PREVIEW_CONSENT for every study associated with this lab. For details of these permissions, see the section on study permissions; essentially this lets a lab member view all the studies associated with a lab, but not edit those studies, change their status, or view any human subjects data unless they have study-specific permissions.
- Admin
Lab member permissions, plus: can edit lab metadata (name, contact email, etc.), can manage lab researchers (add/remove people, change perms among these three groups); and WRITE_STUDY_DETAILS, CHANGE_STUDY_STATUS, and MANAGE_STUDY_RESEARCHERS for every study associated with this lab. Again, this does not grant access to any human subjects data without study-specific permissions, but it does allow a lab admin to manage who has what access to which studies, edit study protocols and descriptions, and start and stop data collection.
Whether to make most lab members “guests” vs. “full members” is just a matter of whether you want a more communal workspace where everyone can see all the studies, or a more private workspace where people have to be invited to collaborate on particular studies. You might choose to make everyone in your lab a “lab member,” but occasionally add an outside collaborator who’s just helping with a single study as a guest.
By design, there is no way to give anyone access to participant data for all studies in your lab. You have to give them permission to individual studies.
Lab’s custom URL
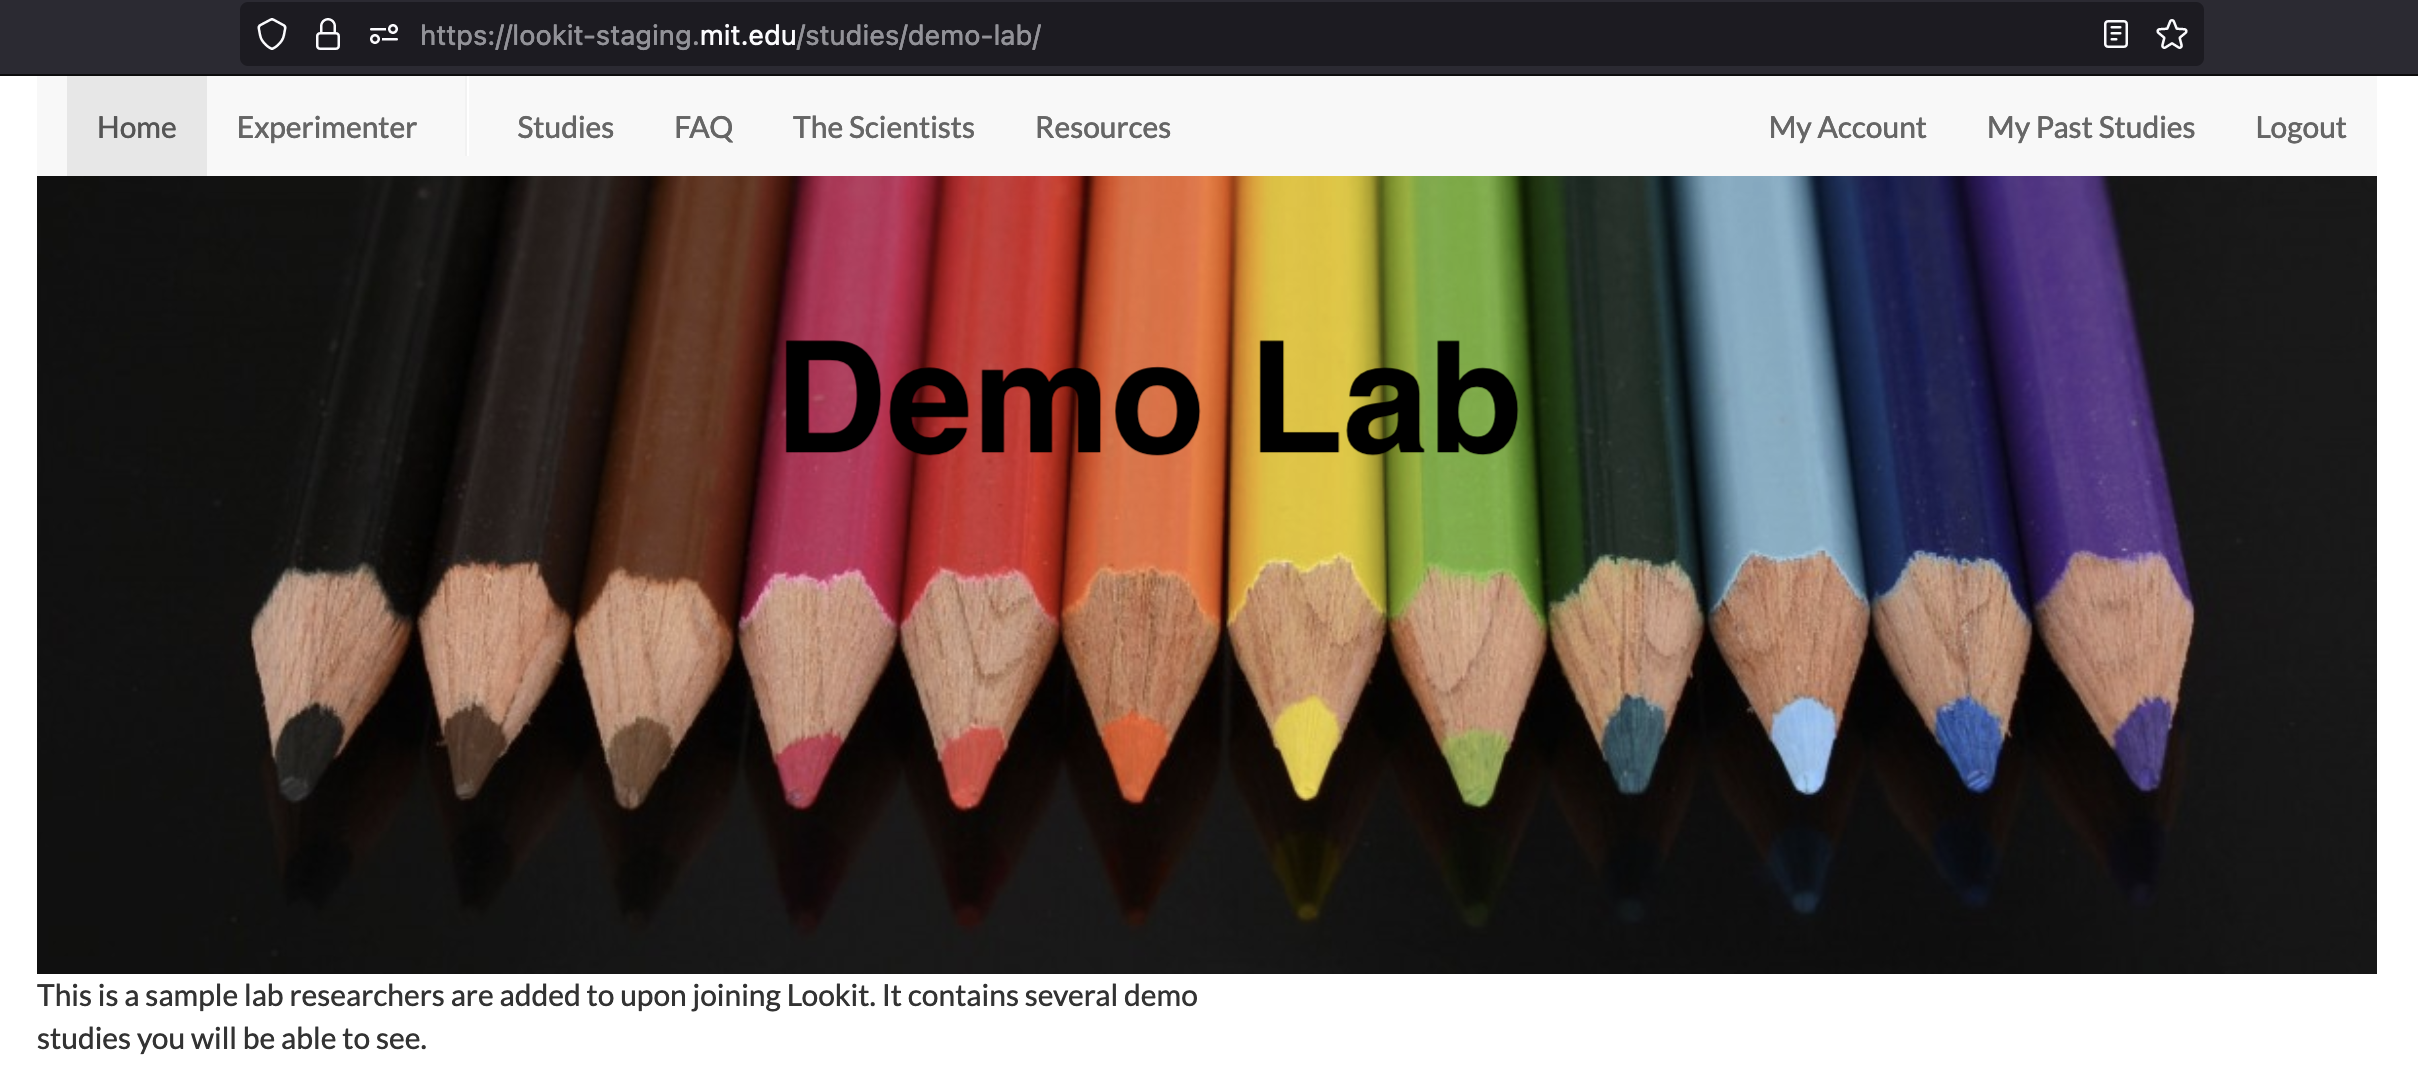
Each lab has its own page on CHS. This provides a convenient URL for you to distribute and allows families to easily find all of your lab’s active studies. To find the current custom URL for your lab, go to “Manage Labs” and select your lab. You will find the link to the lab’s page under “Custom URL”.
To change your lab’s URL, click “Edit lab” in the top right of your lab’s information page. Update the “Custom URL” to suit your lab’s preferences.
When creating and editing your lab details, you have the option to add a banner and/or badge image. If you upload a banner image, it will be shown at the top of your lab’s custom page in place of the lab name (so you’ll probably want to add your lab name to the image). The banner image should have a width-to-height ratio of at least 2.
If you do not upload a banner image, then the badge image will be shown next to the lab name. The badge image dimensions must be square. Please keep each file size to less than 1 MB.
Note
As part of future updates to the site to make it more mobile-friendly, the banner and badge images will both be used. In the future, the banner image will be shown at the top of your lab’s custom page when the page is viewed on a wide (desktop/laptop) browser window, and the badge image will be shown when the page is viewed on a narrow browser window, such as on a mobile device.
Ordering studies on your lab page
By default, your lab page will show all of your lab’s active experiments in a random order. You may wish to change the order of the studies on your lab page, for instance to encourage more participation in a particular study, or to reflect the session order when a study consists of multiple parts.
To update the presentation order of your studies, go into the edit page for a study and change the “Lab Page Priority” value. Setting the study’s priority value to 99 (the default) will mean it is shown first on your page, while setting the priority to 1 will mean it is shown last. You can use any integers between these values for more fine-grained control over ordering. If any of your lab’s studies share the same priority value, then presentation order will be random within that set.