1. Accessing Children Helping Science and community
Welcome
Welcome to the Children Helping Science (CHS) tutorial! In this tutorial you will work through a series of exercises intended to build all the skills you’ll need to run your own study on the CHS platform. By the end of the tutorial, you will be able to create a participant-friendly study that includes a survey and test trials, assign children to different experimental conditions, test and troubleshoot your study, download study data, contact participants, use and even edit this documentation!
Who should do this tutorial?
This tutorial was mostly written for researchers who will be building a Lookit study, but it’s also applicable for researchers who will be building a jsPsych study or sharing a link to an external study instead. We’ve flagged the different points in the tutorial that you may want to do/skip if you’re only interested in certain study types. Specifically:
In Step 3: Create a study, you can choose to create an internal Lookit or jsPsych study, or skip this section if you’re running an external study.
In Step 4: Managing study data, if you’re only interested in running external studies then you’ll be able to skip the consent review process and ignore some of the data types, like video recordings and task data.
This tutorial should take between 5 and 10 hours to complete, and does not assume any familiarity with programming. There is a mix of step-by-step directions and exercises to complete. It’s the best way to get started with creating and managing a Lookit study, and a good first task to give to an RA who will be designing studies. Note that it does not cover issues like participant recruitment and IRB approval, just the technical side of things.
Throughout the tutorial, you may want to have the tutorial open in one browser window while you complete the tasks in another window.
To get started, you need to get on Children Helping Science!
Step 1: Join the Lookit/CHS Slack workspace
Fill out this form to join the Lookit/CHS Slack workspace. If you haven’t used Slack before, you’ll need to create an account; otherwise it will be added to your other workspaces.
Slack is a messaging platform that serves as the primary tool for communication about development and use of the CHS platform. The Lookit/CHS Slack workspace is essentially a collection of “chat rooms” for various topics. You can use Slack via a web interface, a desktop app, and/or on your phone.
Step 2 (optional): Sign up for the lookit-research mailing list
We periodically (about once a month) send out updates about Lookit/CHS. If you’d prefer to get these updates via email instead of only on Slack, please sign up for this list.
Step 3: Create your CHS account
Go to the researcher registration form. Fill out the form and click “create account.”
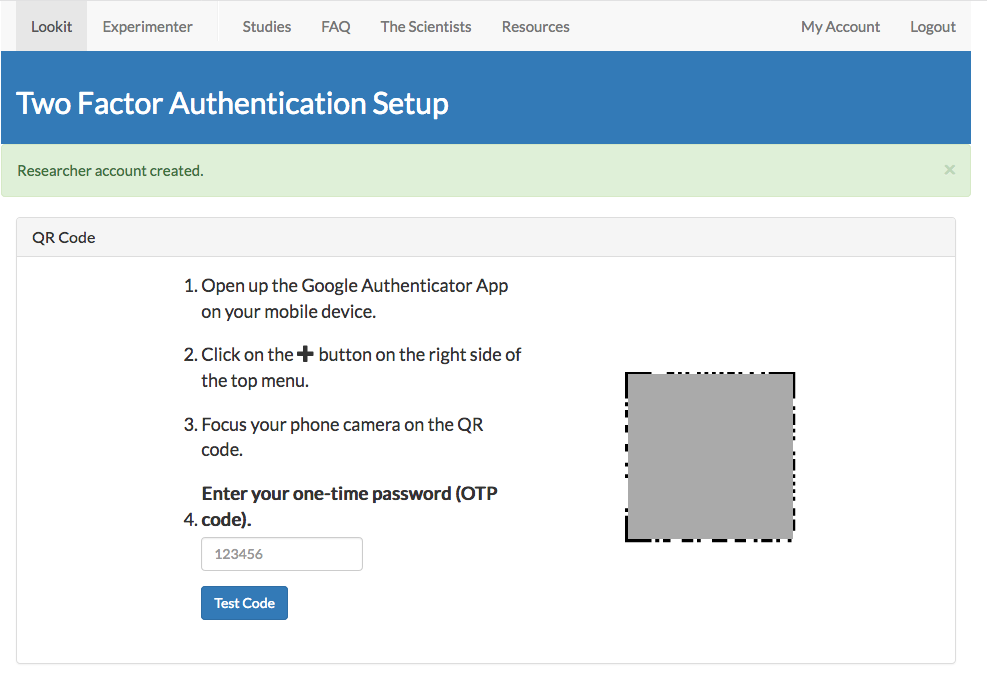
You’ll be taken to a page like this to set up two-factor authentication (2FA), which you’ll need in order to access the researcher section of CHS. If you haven’t already, download the Google Authenticator app on your phone. Then follow the directions on this page to activate 2FA for your account.
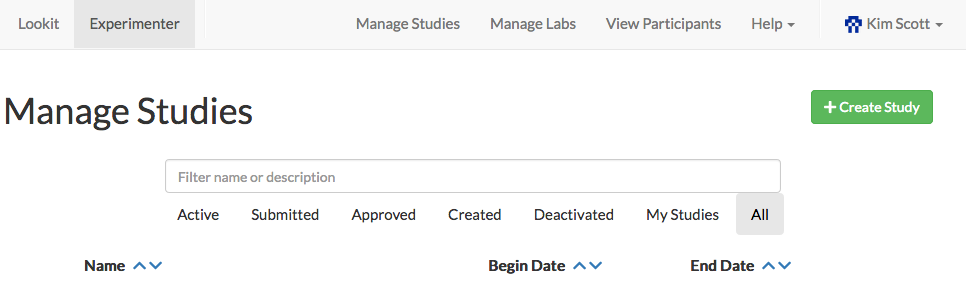
You’re logged in! You should be redirected to a page of studies like this:
(Having any trouble? Check the login/registration documentation for more information.)
Where to go for help
If you need help as you’re completing this tutorial - or later when you’re creating and running studies on CHS - the best place to go is the Lookit/CHS Slack workspace. Check the ‘researchers’ or ‘tech support’ channels to see if someone has asked the same question before! If not, post in one of these channels to get support from CHS staff and/or other researchers who may have dealt with the same issue. (If you need help specifically from CHS staff, under almost all circumstances the question should still go in one of the public channels rather than a private chat, so that other people can see the answers.)
Even if you’re not totally stumped, it’s worth checking in on Slack to get ideas and resources! For example, you might ask if anyone has an R script for analyzing their data that you could use as a starting point, or run a draft debriefing by other researchers to get advice on wording.
There is a growing collection of training materials contributed by researchers that you can check out under the “CHS Learning Materials and Other Resources” section on the Resources page!
Exercises
Say hello in the “tutorial” channel of the Lookit/CHS Slack workspace.
Get a feel for the participant experience by trying out one of the “template” studies! After logging with your researcher account, click the “Experimenter” button at the top to get to the “Manage Studies” page. Then find a study that is part of the “Demo lab” and has “[TEMPLATE]” in the title, such as Baby Tetris or Can they both be right?. Click on it and then click “Preview study” to see how it would work if you were a participant! You may need to add a child profile and complete your demographic survey, which you can do from the “Manage Account” page (click your name in the top right, then “Manage Account”).
[Extra credit] If you have young kids, take part in a currently-running study as a real participant! You can log in with your researcher account, but make sure that you’re on the family-facing part of the website by clicking “CHS Home” at the top, then go to the “Studies” page. The experience is different with a squirming kid in your lap! Please enter only actual, not made-up, data on the production website - you are participating in real research here. (If you’re curious but don’t have a child in the age range, feel free to contact the lab and ask if it’s ok to check it out - generally they can deal with that easily, but a heads up is helpful.)