Updating the Lookit experiment runner
In the future, there may be changes in the Lookit experiment runner that you want your study to use - for instance, a bug fix for an issue your participants are encountering or a new frame you want to use. (By default, your study keeps chugging along using exactly the same code, so that updates can’t change how your study works without your knowledge.)
Checking what’s changed
The most straightforward way to view changes to the Lookit code is to review the list of commits. If you’re planning to update to the latest commit, you should read through the pull request notes for each commit between the one you’re using and the new one.
Update steps
Here’s how to update the code used:
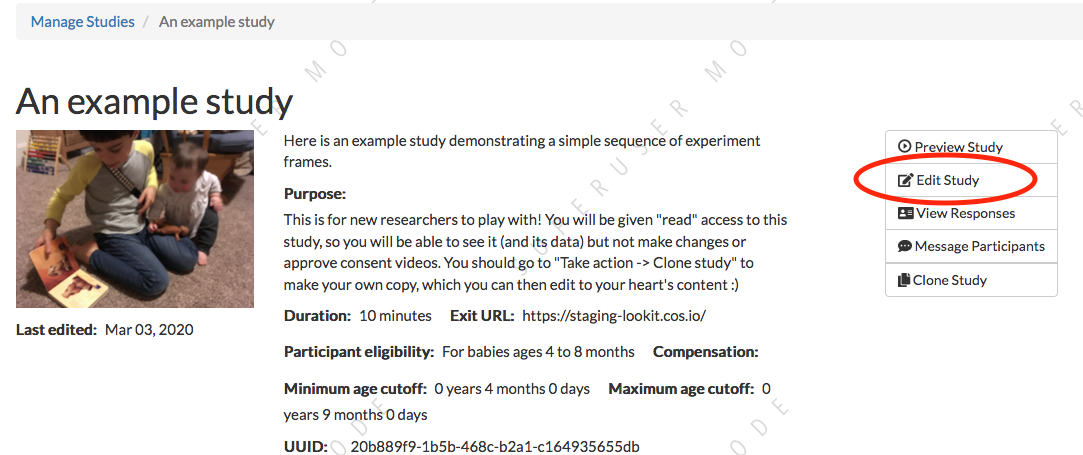
Click “Edit Study Design” on the study you want to update.
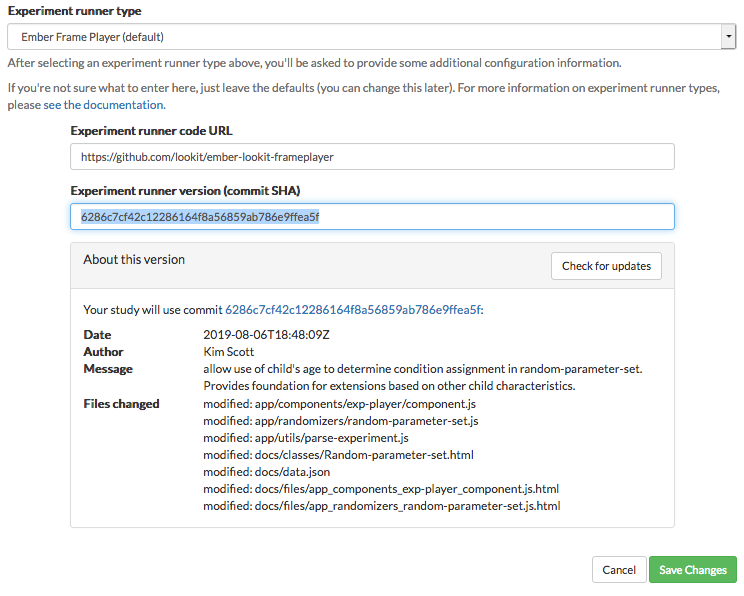
2. At the bottom of this page you should see a value in the
Experiment runner version (commit SHA) field if you have built a preview or
experiment runner before, like this:
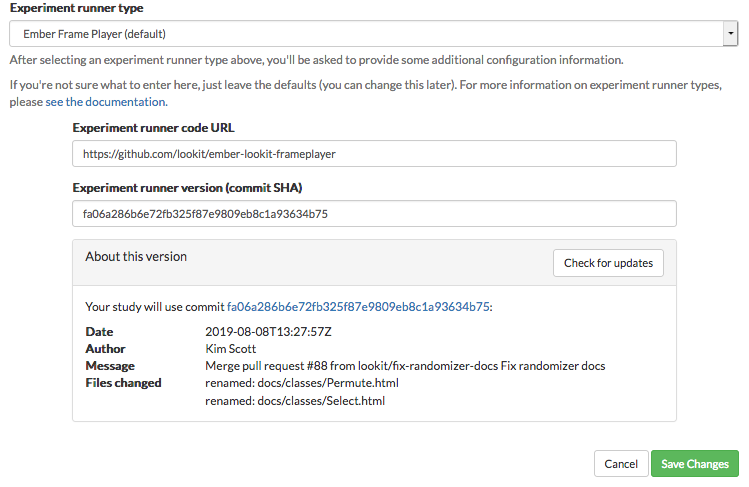
Make a note of this value, just in case the update makes something work differently in your study and you want to return to the current commit.
You should see a bit of information about this commit - the date, the message associated with the most recent change, and a list of files that were updated.
3. We’ll focus here on just updating the commit of the Lookit frameplayer code
you’re using. You can also edit the Experiment runner code URL to use a
different repository entirely, like your own fork. The steps are the same
regardless of which repo you’re using, but pointing to your own code is more
advanced.
Option 1: latest version: You can delete the value in
Experiment runner version (commit SHA)and leave it blank to use the default value, which is the most recent version of the Lookit frameplayer code.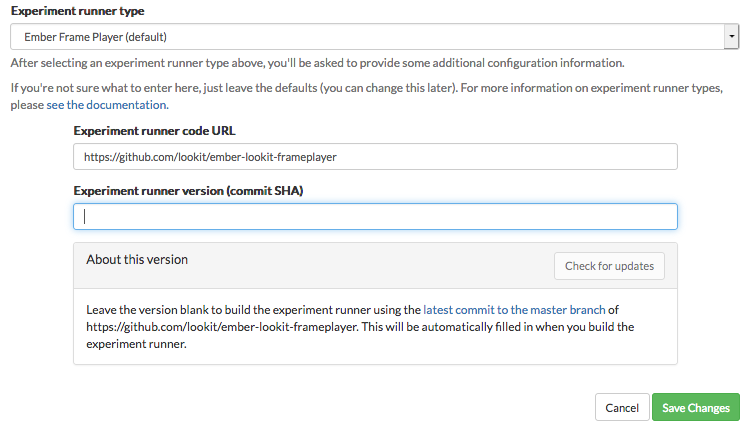
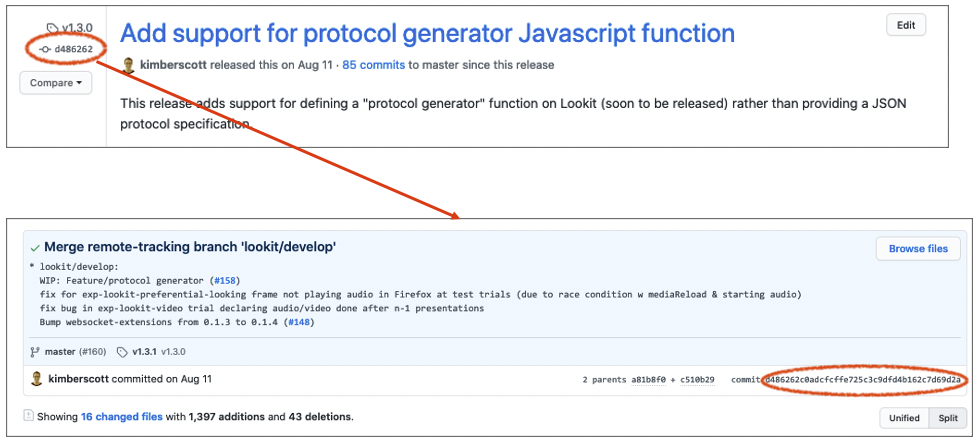
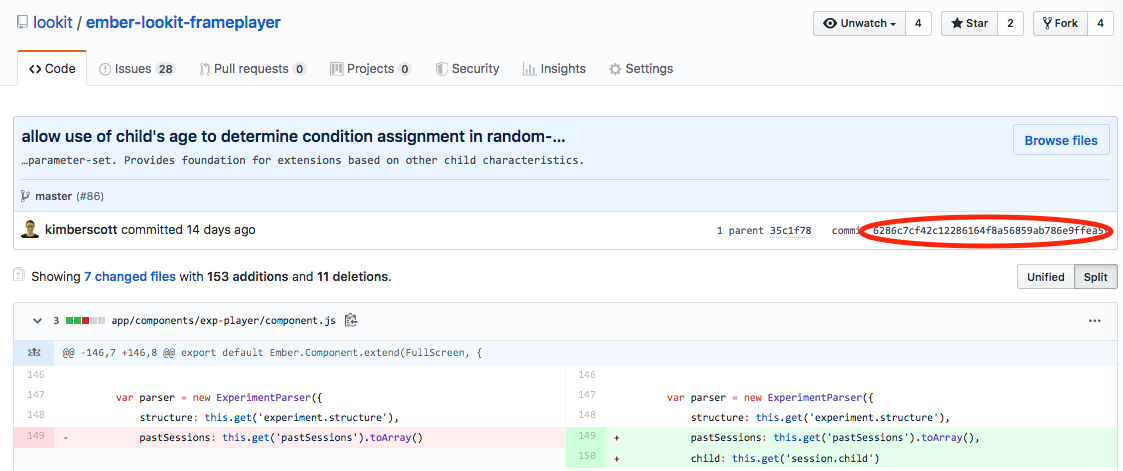
Option 2: specific version: You can click “Check for updates” and then paste in the SHA of the commit you want to use (“commit sha”). You can also copy the SHA from the commits list. If you do this, click the copy button next to the commit:
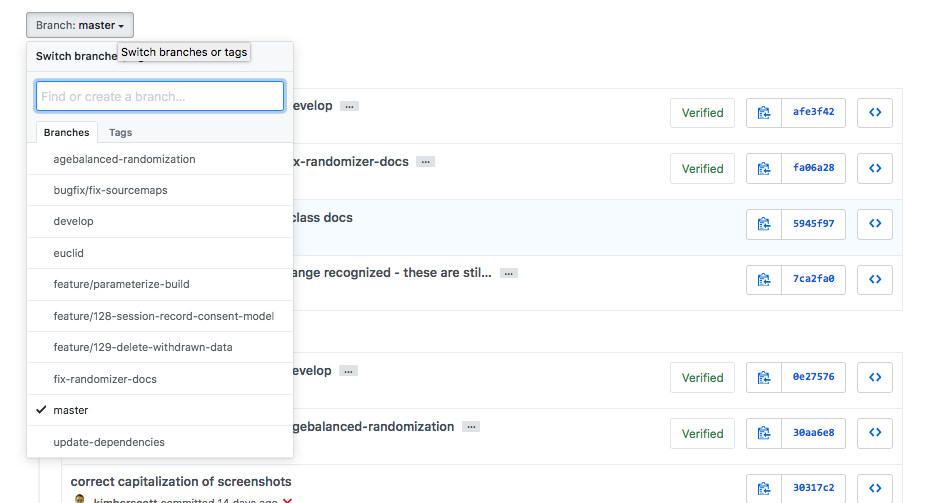
By default you will see only commits to the “master” branch of the frameplayer. If you want to use the “develop” branch, where new changes are tested out initially, you can select it instead:
You can click on any commit for more detail about what was changed.
Paste the commit sha you want to use into the study edit view, and you should see some information confirming it’s the one you wanted:
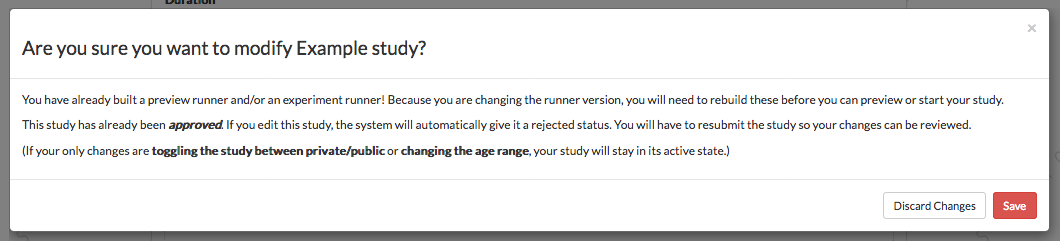
4. Click “Save Changes”. You will see a warning pop up if your study has already been approved, telling you it will be rejected automatically and require re-review. This is so that CHS staff can review any new code you’re using (in particular if you’re using your own repo).

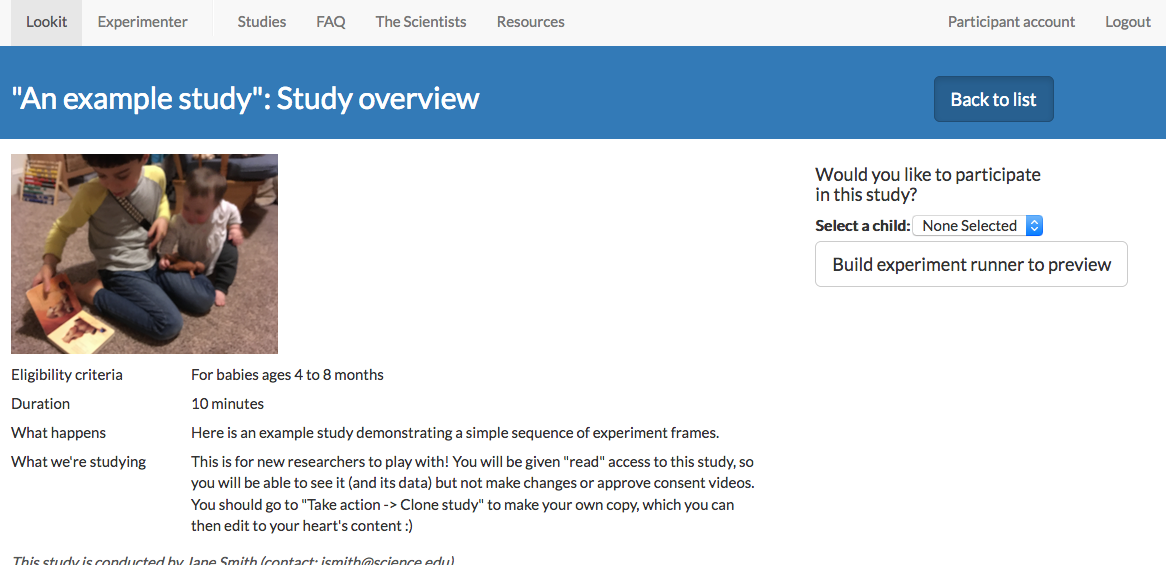
5. Because the code you’re using is different now, you will need to build a (new) experiment runner before you can start your study again. If you click the “Preview study” button on your main study page or edit study page, you will be taken to a preview of the “study detail” page participants see before deciding whether to start the study. But you won’t have the option to actually preview the study yet:
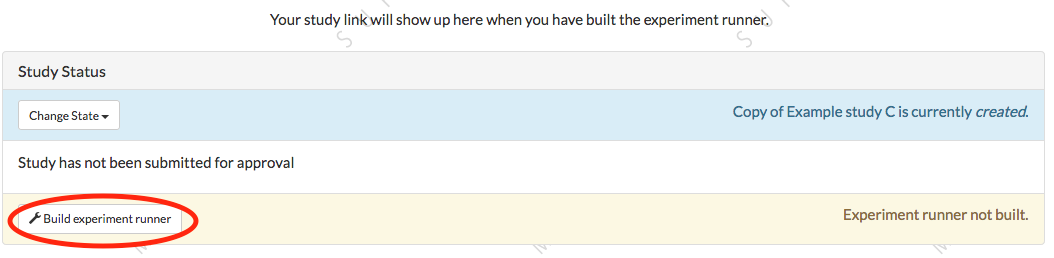
Even if you are just updating to the latest version of the master branch, you should preview your study and make sure everything still works just how you want it to! Click “Build experiment runner” on your main study page:
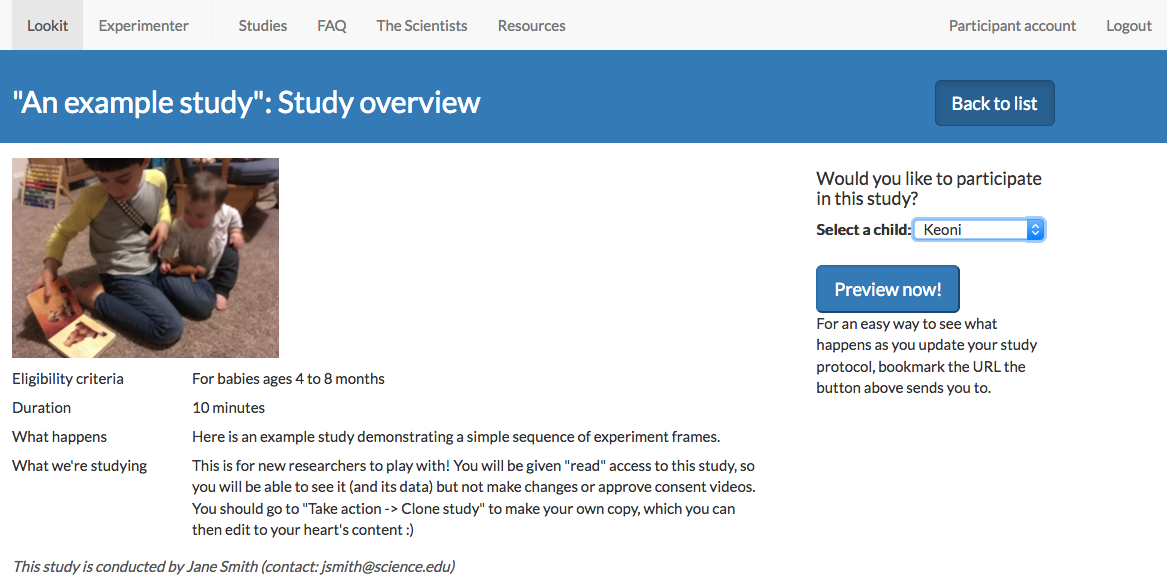
Once you get an email notification that the experiment runner has been built, you will be able to try out your study. The preview detail page will now have a button to preview the study:
6. If you were already collecting data, return to your main study page where you will probably see that its state is “rejected.” Click “change state” and select “submit” to submit your study for re-approval. Once it is approved, you will be able to start data collection again. You will need to click “Build experiment runner” and wait for that process to complete (about ten minutes) before you can start the study.
